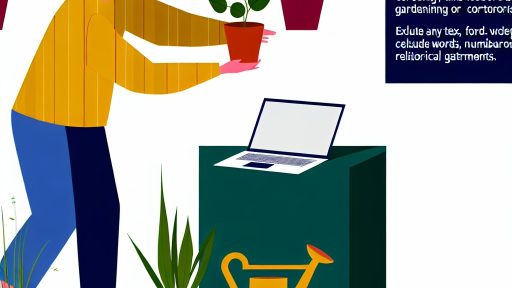
Overview of the Importance of Indoor Seed Starting
Starting seeds indoors gives plants a head start for the growing season.
This practice enables gardeners to cultivate various plants in a controlled environment.
Moreover, it allows for better management of light, temperature, and humidity.
As a result, seedlings grow stronger and healthier.
Benefits of Extended Growing Seasons
Indoor seed starting extends the growing season dramatically.
Gardeners can begin planting well before outdoor temperatures rise.
This is particularly crucial for regions with shorter growing seasons.
By starting seeds indoors, you can maximize your harvest.
Cost-Effectiveness of Growing from Seeds
Growing plants from seeds is often less expensive than purchasing seedlings.
Additionally, it allows gardeners to explore a wider variety of plants.
Many lesser-known or heirloom varieties may only be available as seeds.
Therefore, indoor seed starting can also enhance your garden’s diversity.
Advantages of Controlled Growing Conditions
Starting seeds indoors allows for precise control over their environment.
You can maintain optimal temperatures using heating mats.
Special grow lights can provide adequate lighting for photosynthesis.
Transform Your Agribusiness
Unlock your farm's potential with expert advice tailored to your needs. Get actionable steps that drive real results.
Get StartedThis control boosts germination rates significantly.
Reducing Risks of Pests and Diseases
Starting seeds indoors reduces the risk of pests and diseases.
You can keep seedlings safe from early-season pests like aphids or beetles.
This strategy also minimizes exposure to common soil-borne diseases.
Consequently, seedlings have a better chance of thriving.
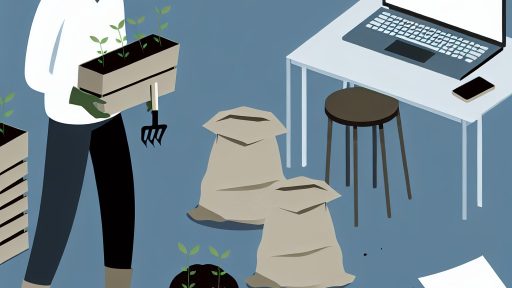
Essential Materials Needed for DIY Seed Starting Projects
Soil and Growing Medium
Select a high-quality seed starting mix for optimal growth.
This mix should be light, well-draining, and packed with nutrients.
You can also use coconut coir or peat moss as alternatives.
Containers for Seedling Growth
Use seed trays or potting cells to start your seeds efficiently.
Recycled containers can also be effective; just ensure good drainage.
Examples include yogurt cups or egg cartons.
Light Source for Germination
Provide adequate light for your seedlings to thrive indoors.
Consider using grow lights or fluorescent bulbs for this purpose.
Ensure the light is positioned about 2-4 inches above the plants.
Watering Tools
Keep your seedlings hydrated, but avoid oversaturating the soil.
A spray bottle works well for gentle watering of small pots.
You can use a watering can with a fine spout for larger containers.
Labels for Organization
Label your seedlings to keep track of different plant varieties.
Use waterproof markers on plastic plant labels or popsicle sticks.
This practice helps prevent mix-ups during the growing period.
Heat Mats for Germination Support
Heat mats can help speed up germination for certain seeds.
Check the specific temperature needs for your chosen seeds.
Position the heat mat beneath the seed trays for best results.
Organic Fertilizers and Pest Deterrents
Opt for organic fertilizers to nourish your seedlings safely.
Showcase Your Farming Business
Publish your professional farming services profile on our blog for a one-time fee of $200 and reach a dedicated audience of farmers and agribusiness owners.
Publish Your ProfileConsider natural pest deterrents to protect your plants as they grow.
Always read labels for proper usage and recommended dosages.
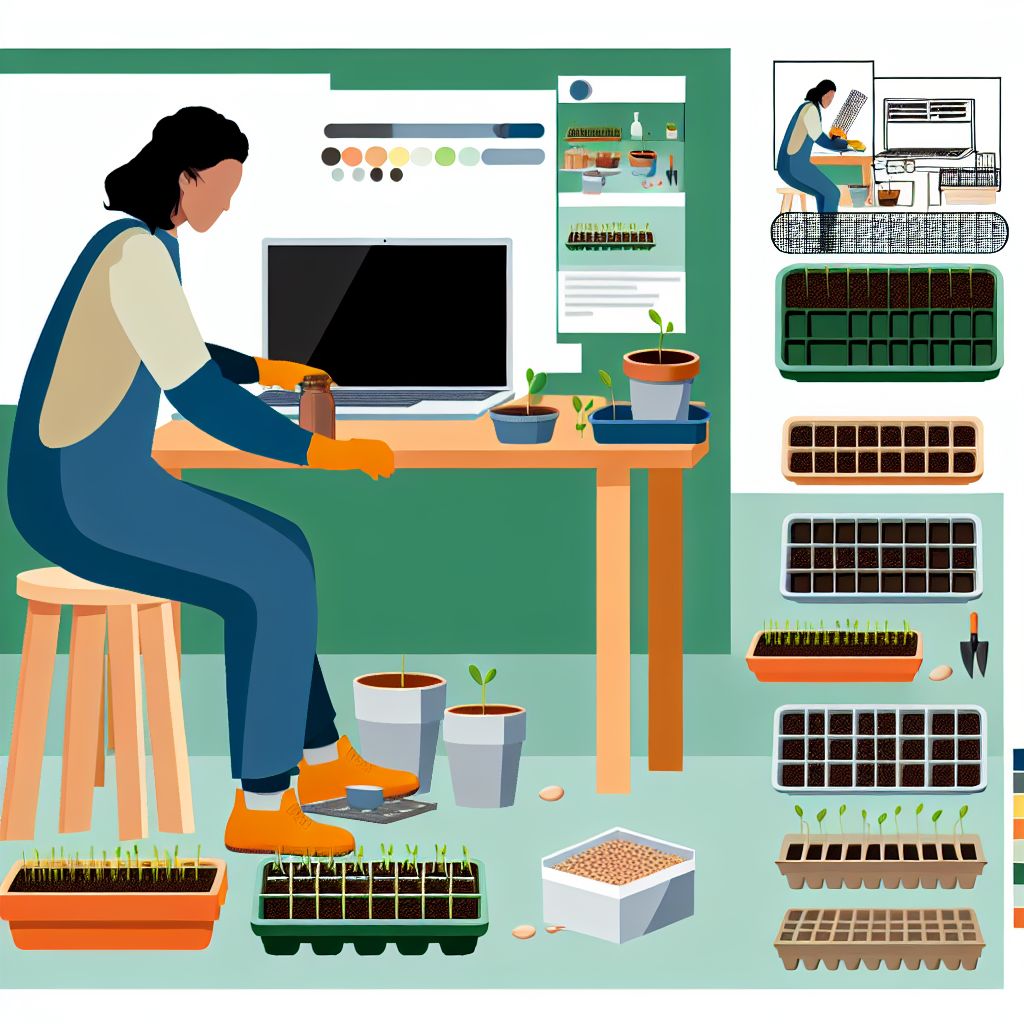
Step-by-Step Guide to Creating a Seed Starting Station
Gather Necessary Supplies
Begin by gathering all required materials for your seed starting station.
You will need seed trays.
Potting mix is also necessary.
Labels come next.
Finally, gather your seeds.
Additionally, consider a watering can and a light source.
Choose the Right Location
Identify an ideal space for your seed starting station.
The area should receive plenty of natural light.
If possible, look for a warm location.
Preferably, keep it around 70°F to 75°F.
Prepare Seed Trays
Take your seed trays and fill them with potting mix.
Ensure that the mix is moistened but not overly wet.
Leave a small space at the top of the tray for easy watering.
Plant the Seeds
Next, follow the seed packet instructions for planting depth.
Carefully place the seeds into the prepared trays.
Cover them gently with the potting mix and label each variety.
Water the Seeds
Once seeds are planted, water them lightly to settle the soil.
Make sure to keep the soil consistently moist without overwatering.
Provide Adequate Light
Place your seed trays under grow lights if natural light is insufficient.
Adjust the lights to be 2-4 inches above the seedlings.
Keep them on for 12-16 hours each day for best results.
Monitor and Maintain
Regularly check your seedlings for moisture and growth.
Thin the seedlings if they become overcrowded for better air circulation.
Be vigilant about pests and diseases that may appear.
Transplanting Seedlings
Once seedlings have developed sufficient leaves, it is time to transplant.
Carefully lift each seedling with its roots.
Pot it up individually.
Use larger pots filled with potting mix to encourage further growth.
Discover More: Indoor Gardening Techniques for Growing Fresh Herbs at Home
Choosing the Right Containers for Seed Starting
Types of Containers
Many types of containers suit seed starting needs.
Plastic trays work well for many gardeners.
Peeled egg cartons can serve as creative options.
Biodegradable pots are also an excellent choice.
They reduce plastic waste and provide healthy roots.
Material Considerations
Container material affects seed growth and drainage.
Plastic is lightweight and retains moisture.
Clay pots allow better airflow but dry out quickly.
Wood offers a natural look, but it can rot over time.
Showcase Your Farming Business
Publish your professional farming services profile on our blog for a one-time fee of $200 and reach a dedicated audience of farmers and agribusiness owners.
Publish Your ProfileSize and Depth
Choose containers based on your seeds’ needs.
Small seeds require shallow trays with minimal depth.
Larger seeds need deeper pots for root development.
Always leave enough space for each plant to grow.
Drainage Options
Good drainage is crucial for healthy seedlings.
Ensure containers have drainage holes to prevent rot.
Add rocks or gravel to improve water flow in soil.
Always check for water before adding more moisture.
Eco-Friendly Container Alternatives
Consider sustainable options to minimize environmental impact.
Coconut coir pots are biodegradable and effective.
Recycled plastic containers can be reused each season.
Compostable options enrich the soil over time.
Learn More: Vertical Farming for Scaling Indoor Agriculture Operations
DIY Soil Mix Recipes for Optimal Seed Germination
Importance of Quality Soil
Quality soil is crucial for seed germination.
It influences the growth and development of plants.
Well-crafted soil mixes support healthy seedlings.
Basic Seed Starting Mix
This simple recipe requires three main components.
Combine equal parts peat moss, vermiculite, and perlite.
Mix these ingredients until uniform.
This blend offers good drainage and aeration.
Nutritious Seed Starting Mix
Add compost for a nutrient boost.
Start with equal parts of peat moss and compost.
Incorporate perlite for drainage.
This mix provides nutrients for rapid growth.
Organic Seed Starting Mix
This recipe focuses on organic inputs.
Use organic potting soil as a base.
Blend in coconut coir and worm castings.
This mix enriches seedlings naturally.
Tips for Mixing Soil
Wear gloves to protect your hands while mixing.
Use a large container to combine ingredients efficiently.
Ensure the consistency is moist but not soggy.
Check for clumps that need breaking down.
Storing Your Soil Mix
Store excess soil in a sealed plastic container.
Keep it in a cool, dry place for freshness.
This prevents moisture buildup and fungal growth.
Label the container for easy identification.
Learn More: Comprehensive Guide To DIY Garden Projects For Regenerative Farming In The USA
Effective Lighting Solutions for Indoor Seed Starting
Importance of Proper Lighting
Proper lighting is crucial for successful seed starting indoors.
It ensures your seedlings grow strong and healthy.
Moreover, adequate light prevents leggy growth.
Showcase Your Farming Business
Publish your professional farming services profile on our blog for a one-time fee of $200 and reach a dedicated audience of farmers and agribusiness owners.
Publish Your ProfileTypes of Indoor Grow Lights
LED grow lights are energy-efficient and long-lasting.
They provide a full spectrum of light for plants.
Fluorescent lights are affordable and widely available.
These lights work well for small-scale gardening.
Incandescent bulbs are less efficient and produce more heat.
They are not recommended for seed starting.
Choosing the Right Light for Your Setup
Consider the space available for your seedlings.
Assess how many lights you need based on your plants.
Ensure the light has an adjustable height for growth.
Furthermore, monitor energy consumption to reduce costs.
Light Duration and Timing
Most seedlings need 12 to 16 hours of light daily.
Using a timer can help manage light duration easily.
Adjust light exposure based on the growth stage of your plants.
Seedlings typically require more light than dormant plants.
Positioning Your Grow Lights
Place lights 2 to 6 inches above the seedlings.
Keep them close to prevent stretching towards the light.
Adjust the height as the seedlings grow taller.
This helps maintain strong and healthy growth.
Supplementing Natural Light
If sunlight is insufficient, augment it with grow lights.
North-facing windows usually require added support.
Using reflective surfaces can help distribute light effectively.
This technique maximizes light exposure for your seedlings.
Uncover the Details: Seasonal Gardening Strategies For Sustainable Small-Scale Farming In USA
Maintaining Proper Humidity Levels for Seedlings
Understanding the Importance of Humidity
Humidity plays a crucial role in seedling growth.
It affects how seedlings absorb water and nutrients.
Higher humidity levels help reduce water loss.
Conversely, low humidity can stress seedlings.
Ideal Humidity Levels for Seedlings
Seedlings typically thrive in humidity levels between 50% and 70%.
Optimal humidity ensures healthy germination and growth.
Adjust levels based on the seed type and growth stage.
Methods to Maintain Humidity
- Using a humidity dome can trap moisture effectively.
- Airtight containers also retain humidity for seedlings.
- Regular misting provides an additional moisture source.
Monitoring Humidity Levels
Monitor humidity levels consistently for the best outcomes.
Use a hygrometer to keep track of indoor humidity levels.
Adjust your methods based on the readings for effectiveness.
Recognizing Signs of Imbalance
Look for signs that indicate humidity issues.
With high humidity, watch for mold growth on seedlings.
Conversely, drooping leaves may signal low humidity.
Act swiftly to correct these issues for healthy growth.
Common Mistakes to Avoid When Starting Seeds Indoors
Choosing the Wrong Containers
Using inappropriate containers can hinder seed growth.
Opt for seed trays, pots, or biodegradable options.
Ensure containers have proper drainage holes.
Showcase Your Farming Business
Publish your professional farming services profile on our blog for a one-time fee of $200 and reach a dedicated audience of farmers and agribusiness owners.
Publish Your ProfileIgnoring Light Requirements
Seeds need adequate light to germinate effectively.
Place them near a bright window or use grow lights.
Avoid dark corners that may stunt growth.
Overwatering or Underwatering
Finding the right watering balance is crucial.
Too much water can lead to root rot.
Conversely, too little can dry out your seeds.
Neglecting Temperature Control
Temperature plays a significant role in seed germination.
Keep seeds in a warm location for optimal growth.
Aim for a consistent temperature between 65°F and 75°F.
Using Poor-Quality Soil
Choosing the right soil mix helps seeds thrive.
Use a seed-starting mix that’s lightweight and sterile.
Avoid garden soil, which may contain pests and pathogens.
Planting Seeds Too Deep
Upholding guidelines for planting depth is essential.
Check seed packets for specific recommendations.
Planting too deep can prevent seeds from breaking through.
Failing to Thin Seedlings
Thinning seedlings ensures healthy growth.
Crowded plants compete for nutrients and light.
Remove weaker seedlings to allow stronger ones to flourish.
Ignoring Fertilization Needs
While seeds do not require immediate fertilization, nutrients are important later.
Use a diluted, balanced fertilizer once seedlings develop true leaves.
Follow package instructions to avoid over-fertilizing.
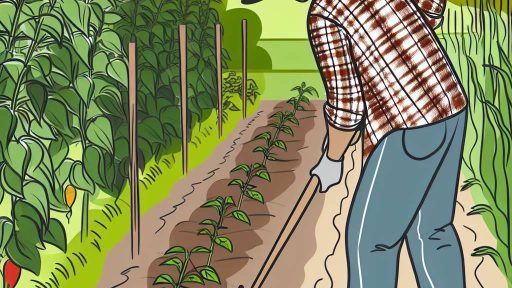
Tips for Transplanting Seedlings to Outdoor Gardens
Choosing the Right Time
Start by waiting for the right conditions before transplanting seedlings.
Check the local frost dates to determine the best time.
Typically, wait until all danger of frost has passed.
Additionally, consider the specific needs of your plant varieties.
Preparing the Garden Bed
Begin by selecting a suitable location in your garden.
Ensure that it receives adequate sunlight for your seedlings.
Next, prepare the soil by tilling and adding organic matter.
Mix compost or well-rotted manure to improve soil fertility.
Transplanting Techniques
Carefully remove seedlings from their containers or trays.
Handle by the leaves, not the stems to avoid damage.
Dip the seedlings in water to lessen transplant shock.
Plant them at the same depth they were growing indoors.
Watering After Transplanting
Immediately after transplanting, water the seedlings thoroughly.
This helps to settle the soil around the roots.
Maintain consistent moisture in the following days.
However, avoid overwatering, as it can lead to root rot.
Protecting Young Seedlings
Consider using row covers or cloches for protection.
These shelters guard against harsh weather conditions.
Additionally, monitor for pests that may threaten seedlings.
Showcase Your Farming Business
Publish your professional farming services profile on our blog for a one-time fee of $200 and reach a dedicated audience of farmers and agribusiness owners.
Publish Your ProfileIf necessary, employ natural deterrents to protect them.
Using Recycled Materials for Eco-Friendly Seed Starting Projects
Why Choose Recycled Materials?
Recycled materials reduce waste and are environmentally friendly.
They often come at little to no cost, making gardening accessible.
Additionally, using them fosters creativity in your gardening projects.
Common Recycled Materials for Seed Starting
Several materials are ideal for starting seeds indoors.
- Egg cartons are great for holding small quantities of soil.
- Toilet paper rolls provide individual compartments for seedlings.
- Plastic containers work well for larger seed batches.
- Reuse yogurt cups by poking drainage holes for excess moisture.
- Old newspapers can create biodegradable pots when folded properly.
Creating Seed Starters from Egg Cartons
Egg cartons are an excellent choice for seed starting.
Simply cut the carton apart, keeping each section intact.
Fill each cup with potting soil, then plant your seeds.
Water the soil gently and place the carton in a sunny spot.
This method provides a convenient way to nurture seedlings.
Using Toilet Paper Rolls for Seedlings
Toilet paper rolls are highly effective for individual seedlings.
Cut the rolls in half and fill them with soil.
Plant one seed in each roll and water thoroughly.
These rolls decompose in the soil, nourishing your plants.
Upcycling Plastic Containers
Plastic containers can be repurposed into versatile seed starters.
Before using, ensure they are clean and free from food residues.
Cut holes in the bottom for drainage and fill with soil.
As a result, you will have ample space for a variety of seeds.
Making Biodegradable Pots from Newspapers
Using newspapers can create environmentally friendly seed pots.
Fold strips of newspaper into a cylindrical shape, securing the bottom.
Fill with soil and plant seeds as usual.
These pots will break down naturally in the garden.
Advantages of Eco-Friendly Seed Starting Approaches
Eco-friendly seed starting promotes sustainability and conservation.
Recycling materials helps reduce landfill waste significantly.
This approach also connects gardeners to the principles of reuse.
Moreover, it encourages mindful gardening practices overall.