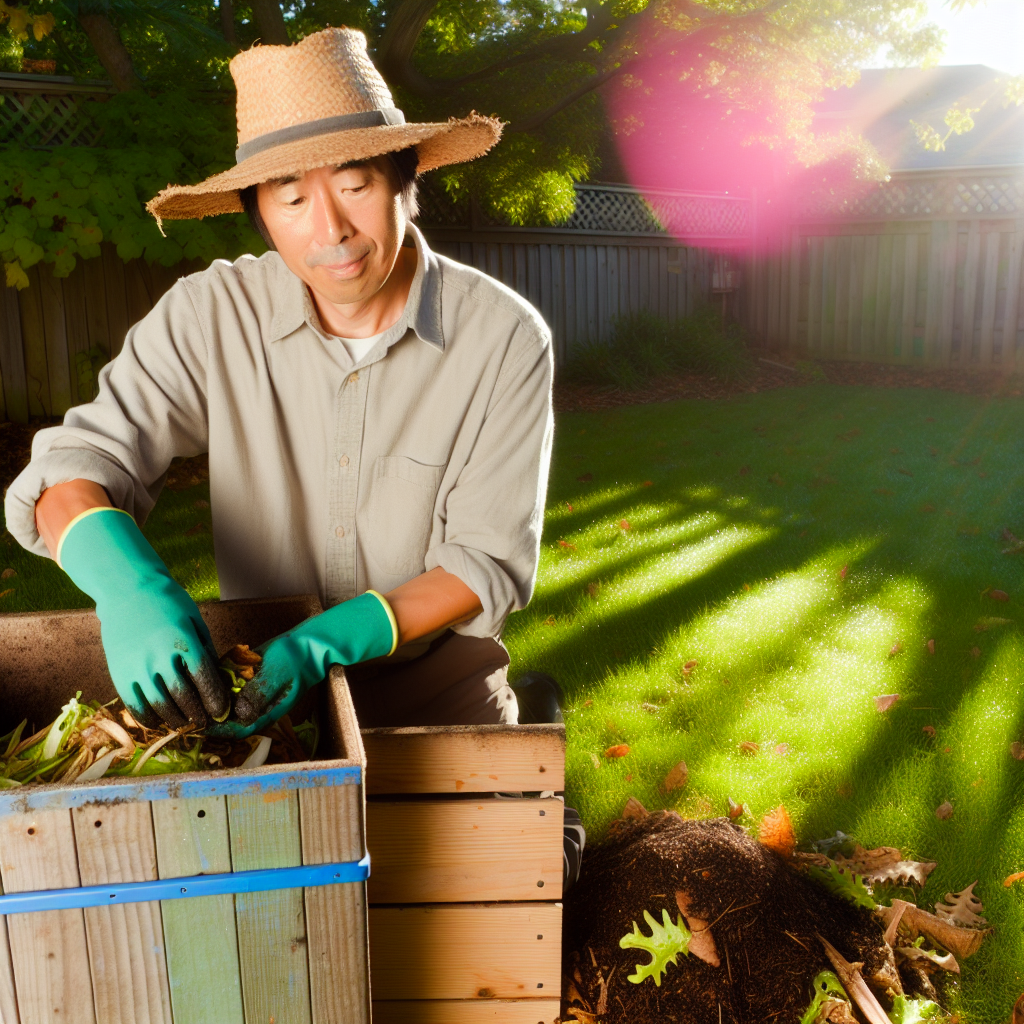
Introduction to Organic Composting
Organic composting is an essential practice for sustainable gardening and farming.
It transforms organic waste into nutrient-rich soil amendments.
This process enhances soil health, promoting plant growth and vitality.
Importance of Organic Composting
Organic composting reduces landfill waste significantly.
Moreover, it prevents harmful methane emissions from degrading organic material.
Healthy soils support diverse ecosystems and improve agriculture sustainability.
Benefits of Organic Composting
Composting enriches the soil with essential nutrients.
It improves soil structure and moisture retention.
Additionally, compost helps suppress soil-borne diseases and pests.
As a result, plants become more resilient and productive.
Furthermore, organic composting promotes a circular economy.
It encourages the recycling of nutrients back into the ecosystem.
Types of Organic Materials for Composting
What to Include
Composting thrives on a mix of organic materials.
Use kitchen scraps like vegetable peels and fruit cores.
These items break down quickly, enriching the compost.
Transform Your Agribusiness
Unlock your farm's potential with expert advice tailored to your needs. Get actionable steps that drive real results.
Get StartedAdd coffee grounds for their nitrogen content.
Garden waste such as leaves and grass clippings also works well.
Shredded paper can be used, but avoid glossy types.
Eggshells provide calcium to the compost mix.
Consider using yard waste, like cut branches or twigs.
These materials balance carbon and nitrogen ratios in your compost.
What to Avoid
Not all organic materials are suitable for composting.
Avoid meat and fish scraps as they attract pests.
Greasy or oily foods can create foul odors.
Do not add dairy products, as they spoil quickly.
Certain plant materials, like those infected with disease, are better left out.
Never include pet waste, since it’s harmful to humans.
Avoid heavy metals and chemicals, as they can contaminate the soil.
Focus on organic materials that decompose safely.
Hot Composting Methods: Techniques for Rapid Decomposition
Overview of Hot Composting
Hot composting effectively speeds up the decomposition process.
This method generates heat through the microbial activity of decomposing materials.
As a result, it can break down organic waste in a matter of weeks.
Benefits of Hot Composting
Hot composting provides several key benefits for gardeners.
- It produces nutrient-rich compost quickly.
- This method minimizes odors associated with decomposition.
- It kills harmful pathogens and weed seeds through high temperatures.
Essential Ingredients
To initiate hot composting, include a mix of green and brown materials.
Green materials supply nitrogen and include items like grass clippings and kitchen scraps.
Brown materials offer carbon and consist of dry leaves, straw, or cardboard.
A balanced ratio of both types fosters optimal decomposition.
Constructing the Compost Pile
Begin by layering green and brown materials in the compost bin.
Ensure each layer is approximately six inches thick for effective heat buildup.
Showcase Your Farming Business
Publish your professional farming services profile on our blog for a one-time fee of $200 and reach a dedicated audience of farmers and agribusiness owners.
Publish Your ProfileAfter constructing the layers, aerate the pile regularly to maintain airflow.
This aeration is crucial for microbial activity, which produces heat.
Temperature Monitoring
Regularly check the temperature of the compost pile to ensure it remains active.
A successful hot compost pile should reach temperatures between 130°F and 160°F.
Use a compost thermometer to track these temperature levels accurately.
Active Management Strategies
Implementing active management strategies is essential for hot composting success.
- Turn the pile every few days to promote oxygen flow.
- Add water if the pile becomes dry, as moisture enhances microbial activity.
- Monitor for any unpleasant odors, indicating a need for adjustment.
Harvesting the Compost
After around four to six weeks, check the compost for readiness.
Once the materials break down and resemble dark, crumbly soil, it is ready.
Finished compost should have an earthy smell and no recognizable scraps.
Harvest the compost and enjoy the benefits it brings to your garden.
Discover More: Organic Practices for Heritage Gardening Success
Cold Composting Methods: A Slow and Steady Approach
Understanding Cold Composting
Cold composting is a simple method for creating compost without the need for heat.
This method requires less effort compared to hot composting techniques.
It allows organic material to decompose naturally over time.
Cold composting suits those who prefer a low-maintenance method.
Benefits of Cold Composting
Cold composting enriches soil while being environmentally friendly.
This technique helps reduce landfill waste and promotes sustainability.
Additionally, it preserves the nutrients in organic materials during decomposition.
Furthermore, the process is forgiving of mistakes.
Basic Steps to Implement Cold Composting
Start by selecting a suitable composting bin or pile location.
Gather kitchen scraps, yard waste, and other organic materials.
Layer the materials, mixing greens and browns for balanced compost.
Water the pile lightly to encourage decomposition without oversaturation.
Finally, let nature do its work over several months.
Materials Suitable for Cold Composting
Collect a variety of materials to enhance your compost.
- Vegetable scraps, such as peels and cores.
- Fruits that are overripe or spoiled.
- Yard waste like leaves, grass clippings, and small branches.
- Eggshells and coffee grounds for additional nutrients.
Potential Challenges
While cold composting is easier, it has its drawbacks.
Decomposition can take longer than with hot composting methods.
Moreover, certain pests may be attracted to the compost pile.
To mitigate these issues, ensure proper layering and aeration.
Considerations for Sustainable Gardening
Cold composting remains a viable option for those seeking sustainability.
Its simplicity makes it an excellent choice for beginners.
As you gain experience, you can explore additional composting methods.
Explore Further: Watering Techniques For City-Based Farms
Vermicomposting: Utilizing Earthworms for Nutrient-Rich Compost
What is Vermicomposting?
Vermicomposting is a natural recycling process.
This method uses earthworms to break down organic waste.
As a result, it produces nutrient-rich compost.
This type of compost is excellent for enhancing soil health.
Benefits of Vermicomposting
Vermicomposting offers numerous advantages.
- It reduces organic waste in landfills.
- It enriches the soil with essential nutrients.
- Additionally, it promotes beneficial microbial activity.
- This process also improves soil structure and aeration.
How to Start Vermicomposting
To begin vermicomposting, gather your materials.
You will need a suitable bin, bedding, and earthworms.
Showcase Your Farming Business
Publish your professional farming services profile on our blog for a one-time fee of $200 and reach a dedicated audience of farmers and agribusiness owners.
Publish Your ProfileLet’s explore each of these components.
Choosing the Right Bin
Select a bin that is dark and well-ventilated.
It should also be moisture-retentive yet allow for drainage.
Plastic containers or wooden bins work well.
Preparing the Bedding
Bedding provides a habitat for the earthworms.
Use shredded newspaper, cardboard, or coconut coir.
Moisten the bedding to create a comfortable environment.
Choosing Earthworms
Red wigglers are the best choice for vermicomposting.
They thrive in organic waste and break it down efficiently.
Start with about a pound of worms per bin.
Feeding Your Worms
Feed your worms a balanced diet of organic waste.
Good options include fruit peels, vegetable scraps, and coffee grounds.
Avoid meat, dairy, and oily foods to prevent odor and pests.
Maintaining Your Vermicomposting System
Regular maintenance ensures a successful composting process.
Check moisture levels, and add water as needed.
Monitor the bin for odors or pests and adjust accordingly.
Harvesting Your Compost
After a few months, your compost will be ready to harvest.
Look for a dark, crumbly texture that smells earthy.
To separate worms from compost, use light.
This encourages worms to move to one side of the bin.
Using Vermicompost
Your vermicompost can significantly benefit your garden.
Mix it into the soil or use it as a top dressing.
It promotes healthy plant growth and enhances yield.
See Related Content: Harvesting Tips For Urban Farming Success
Bin Composting vs. Pile Composting: Pros and Cons of Each Method
Bin Composting
Bin composting involves using a structured container to hold compost materials.
This method allows for better organization of your composting process.
It often produces compost more quickly than pile composting.
Bins can be made from various materials, including wood or plastic.
They help keep vermin away from the compost materials.
Additionally, bins can be easily moved to different locations when needed.
However, they require some initial investment for materials.
Some bins may also restrict airflow, impacting decomposition speed.
Despite these drawbacks, many prefer the neat appearance of compost bins.
Pile Composting
Pile composting utilizes a simple heap of organic waste.
This method is often less labor-intensive and requires no special containers.
Piling organic waste promotes natural airflow, aiding decomposition.
It can accommodate larger amounts of material, leading to larger compost batches.
Furthermore, pile composting encourages beneficial organisms to thrive.
However, it may attract pests if not managed properly.
Piles can also become unsightly and require more space than bins.
Showcase Your Farming Business
Publish your professional farming services profile on our blog for a one-time fee of $200 and reach a dedicated audience of farmers and agribusiness owners.
Publish Your ProfileAt times, maintaining the right moisture and aeration can be challenging.
Comparative Analysis
Both methods have their advantages and disadvantages.
Bin composting is tidy and fast, but may cost more.
Pile composting is easy and spacious, yet can attract pests.
Ultimately, your choice depends on available space and personal preferences.
Consider your gardening goals, space limitations, and budget.
By evaluating these factors, you can choose the best composting method.
Delve into the Subject: Harvesting Tips for Farm-Grown Mushrooms
Maintaining Your Compost
Monitoring Temperature
Monitoring temperature is crucial for successful composting.
Composting relies on microbial activity, which thrives at specific temperatures.
Generally, a temperature range between 130°F and 160°F is ideal.
Use a compost thermometer to check the internal temperature regularly.
Hot composting will speed up the breakdown process.
If the temperature drops below the ideal range, consider turning your pile.
Turning the compost introduces oxygen and encourages microbial growth.
Managing Moisture
Moisture levels play a vital role in compost maintenance.
Your compost pile should feel like a damp sponge, not soaking wet.
Too much moisture can cause a slimy, smelly pile.
Conversely, too little moisture will slow down decomposition.
To adjust moisture, add dry materials if it’s too wet.
If it’s too dry, mix in water or moist green materials.
Regularly check moisture while maintaining your compost pile.
Ensuring Aeration
Good aeration is critical to a healthy compost pile.
Microorganisms need oxygen to break down organic matter effectively.
Turn your compost every few weeks to promote air circulation.
Using a pitchfork or shovel is suitable for this task.
Alternatively, you can create aeration channels by mixing in coarse materials.
Branches, straw, or charcoal can improve airflow in the pile.
Proper aeration will help prevent unpleasant odors and ensure successful composting.
Using Compost in Your Garden
Understanding Compost
Compost enriches soil and supports plant growth.
It consists of organic materials like kitchen scraps and yard waste.
Proper composting processes transform waste into valuable nutrients.
Understanding its properties helps gardeners apply it effectively.
Application Techniques
Incorporate compost into your garden with several effective techniques.
The simplest method is to spread a layer on garden beds.
This promotes nutrient absorption and improves soil structure.
Additionally, mixing compost into the soil before planting enhances its benefits.
Use a garden fork to blend compost thoroughly for optimal results.
Timing Your Application
Timing is crucial when applying compost to your garden.
Fall is an excellent time to add compost as soil temperatures begin to cool.
Showcase Your Farming Business
Publish your professional farming services profile on our blog for a one-time fee of $200 and reach a dedicated audience of farmers and agribusiness owners.
Publish Your ProfileEarlier, in spring, compost can prepare soil for the growing season.
Always avoid applying compost during heavy rainfall to prevent nutrient runoff.
Specific Compost Uses
Compost serves various purposes in gardening.
For flower beds, it enhances bloom and increases plant vigor.
In vegetable gardens, compost ensures healthier crops and higher yields.
Moreover, it can help with moisture retention in dry conditions.
Maintaining Soil Health
Using compost improves overall soil health over time.
Regular application leads to increased microbial activity in soil.
This enhances nutrient cycling essential for plant growth.
Furthermore, compost reduces soil erosion and promotes absorption of water.
Consequently, it creates a more sustainable gardening environment.