Introduction to No-Till Gardening and Its Benefits
No-till gardening is revolutionizing how we cultivate our plants.
This method minimizes soil disruption and enhances its health.
Gardeners appreciate its benefits for both the environment and productivity.
Enhancing Soil Health
No-till gardening improves soil structure over time.
This practice preserves the organic matter in soil.
Healthy soil supports diverse microbial life, which is essential for plant growth.
Reducing Weeds
No-till gardening naturally suppresses weed growth.
By covering the soil with mulch or crop residue, weeds struggle to emerge.
This leads to less competition for valuable nutrients among your plants.
Conserving Water
No-till practices help retain moisture in the soil.
Healthy soil with good structure holds water more effectively.
This means you save water and reduce the need for frequent irrigation.
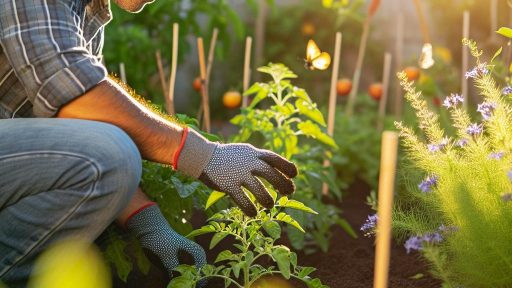
Attracting Beneficial Wildlife
No-till gardens are friendly to beneficial insects like pollinators.
These insects contribute to better crop yields through enhanced pollination.
Additionally, no-till gardening encourages earthworms to thrive, benefiting soil health.
Transform Your Agribusiness
Unlock your farm's potential with expert advice tailored to your needs. Get actionable steps that drive real results.
Get StartedMaking Gardening Accessible
No-till gardening is perfect for beginners and those with physical limitations.
This approach reduces the need for heavy labor associated with tilling.
It allows more people to enjoy the benefits of growing their own food.
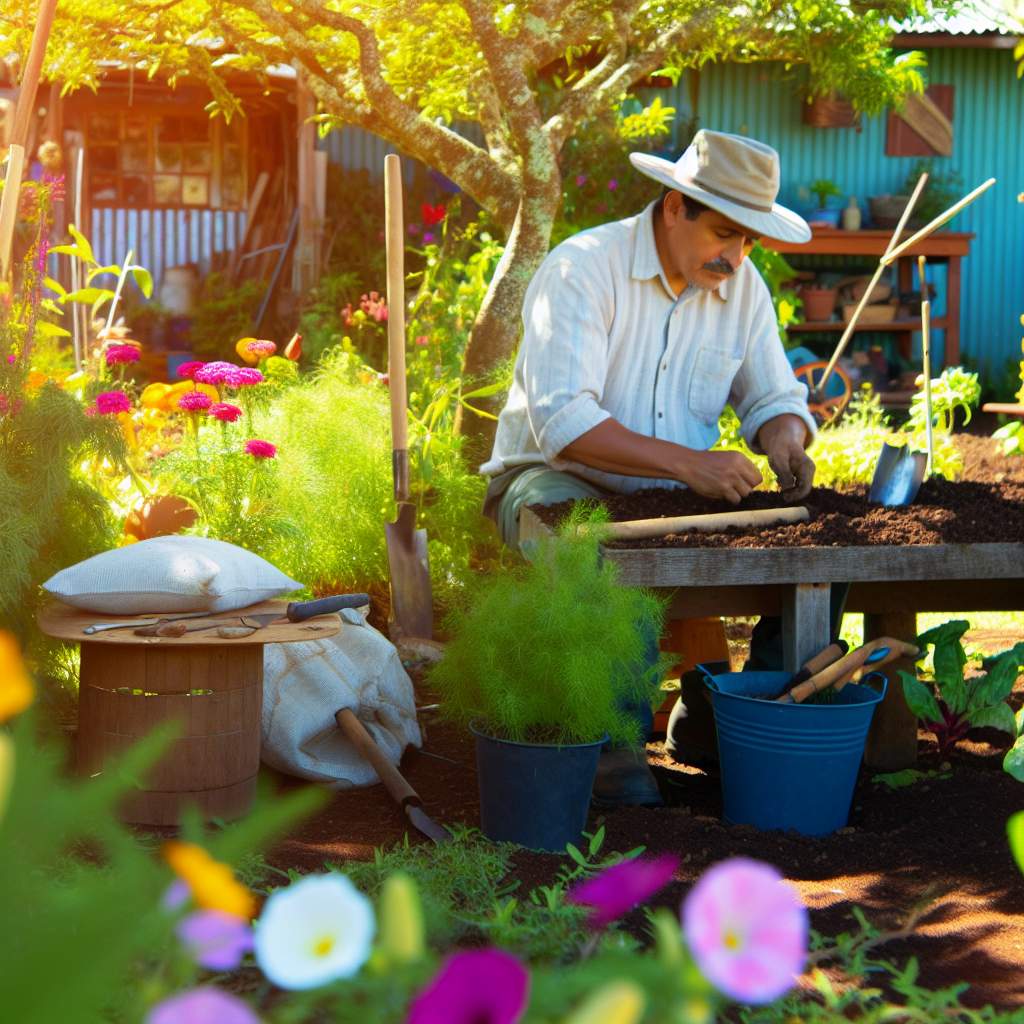
Creating a Compost Bin: Essential for Soil Health
Why Composting Matters
Composting enriches soil with nutrients.
It enhances soil structure and moisture retention.
Additionally, it promotes beneficial microorganisms.
Choosing the Right Location
Select a well-drained, accessible area for your compost bin.
Ensure the spot receives balanced sunlight and shade.
Moreover, it should be near your garden for convenience.
Gathering Materials
Collect a mix of greens and browns for optimal results.
Greens include kitchen scraps and fresh grass clippings.
Browns encompass dry leaves, straw, and cardboard.
Building Your Compost Bin
You can create a simple compost bin using wooden pallets.
Another option is investing in a ready-made compost bin.
Ensure adequate airflow by leaving space between materials.
Maintaining Your Compost
Regularly turn your compost pile to aerate it.
Monitor moisture levels; it should feel like a damp sponge.
Lastly, keep it covered to retain heat and moisture.
Using Your Compost
Compost is ready when it resembles dark, crumbly soil.
Use it to enrich garden beds before planting.
Moreover, top-dress your plants with compost for added nutrients.
Building Raised Garden Beds
Choosing the Right Materials
Selecting the right materials is crucial for building raised garden beds.
Common materials include untreated wood, bricks, or concrete blocks.
Untreated wood is eco-friendly and easy to work with.
Showcase Your Farming Business
Publish your professional farming services profile on our blog for a one-time fee of $200 and reach a dedicated audience of farmers and agribusiness owners.
Publish Your ProfileHowever, it may require replacement after several years.
On the other hand, bricks and concrete blocks are more durable.
They also offer a visually appealing look to the garden.
Determining the Size and Height
Deciding on the size and height of your raised bed is important.
Typically, beds are four feet wide for easy access.
Moreover, they can be any length that fits your space.
A height of 12 to 24 inches is suitable for most plants.
This height allows for better drainage and ease of maintenance.
Preparing the Site
Site preparation is an essential step before constructing raised beds.
First, choose a sunny location that receives at least six hours of sunlight.
Next, clear the area of grass, weeds, and debris.
Level the ground to provide a stable foundation.
Additionally, you can use cardboard or newspaper to suppress weeds.
Construction Steps
Start construction by cutting your materials to the desired lengths.
Align the pieces to form a rectangle or square shape.
Secure the corners using metal brackets or screws for added strength.
Once the frame is assembled, lift it into position.
Check that it is level before adding soil.
Soil Selection and Filling
Select a soil mix that supports healthy plant growth.
A recommended blend includes topsoil, compost, and peat moss.
This combination provides nutrients and good drainage.
Fill your raised bed to about two inches from the top.
Leave space to prevent soil from spilling out when watering.
Planting and Maintenance
After building your raised garden bed, it’s time to plant.
Choose plants that thrive in your local climate and soil.
Group plants by their water and sunlight needs for better growth.
Regularly check for weeds and pests to maintain a healthy garden.
Lastly, consider adding mulch to retain moisture and suppress weeds.
Explore Further: Using Native Pollinators To Enhance Biodiversity In Community Garden Spaces
Making a Mulching Station
Benefits of Mulching
Mulching provides numerous benefits for no-till gardening.
It helps retain soil moisture effectively.
Additionally, mulching suppresses weed growth efficiently.
Moreover, it enhances soil fertility as it breaks down.
This process enriches the ecosystem beneath the surface.
Types of Mulch
There are various types of mulch available for your garden.
- Organic mulch is made from natural materials.
- Common examples include straw, wood chips, and grass clippings.
- Inorganic mulch consists of synthetic materials.
- Examples include landscape fabric and gravel.
Choosing the Right Mulch
Selecting the appropriate mulch depends on several factors.
Consider the type of plants you are growing.
Think about your local climate and weather patterns.
Furthermore, evaluate the availability of materials.
Ultimately, choose mulch that aligns with your gardening goals.
Showcase Your Farming Business
Publish your professional farming services profile on our blog for a one-time fee of $200 and reach a dedicated audience of farmers and agribusiness owners.
Publish Your ProfileUsing Mulch Effectively
Applying mulch effectively can maximize its benefits.
Start by clearing the area of weeds and debris.
Next, lay the mulch in a thick layer around plants.
Maintain a distance from plant stems to prevent rot.
Regularly check and replenish the mulch as needed.
Gain More Insights: Community Gardens for Growing Herbs and Medicinal Plants
Establishing a Worm Farm
Vermicomposting Basics
Vermicomposting transforms kitchen scraps into nutrient-rich compost.
This process relies on earthworms for decomposition.
Start by selecting a suitable container for your worm farm.
Common choices include plastic bins or wooden boxes.
Ensure the container has proper ventilation holes.
Next, create bedding using shredded paper or cardboard.
Moisten the bedding before adding worms.
Red wigglers are the best worms for composting.
Add the worms to the moist bedding gently.
Now, introduce kitchen scraps as food for your worms.
Include vegetable peels, fruit scraps, and coffee grounds.
Avoid adding meat, dairy, and oily foods.
Maintain a balanced diet for your worms to thrive.
Monitor moisture levels in the worm bin regularly.
It should feel like a damp sponge, not soaking wet.
Also, keep the worm farm in a dark, cool place.
Check the worm population every few weeks.
Healthy worms will multiply over time.
After a few months, you can harvest the compost.
Use compost in your garden for rich soil.
This method reduces waste and enriches your garden.
So, start your worm farm today and reap the benefits.
Find Out More: Small Livestock Management for Beginners in Homesteading
DIY Vertical Gardens: Saving Space and Enhancing Aesthetics
Understanding Vertical Gardening
Vertical gardening offers innovative solutions for small spaces.
This method maximizes your garden’s potential without traditional soil beds.
Essentially, it involves growing plants upward rather than outward.
Many people appreciate the beauty of vertical gardens as well.
They create stunning visual displays in urban settings.
Choosing the Right Location
First, identify a suitable spot for your vertical garden.
Look for areas with adequate sunlight for your chosen plants.
Additionally, consider the access to water for proper maintenance.
A vertical garden can thrive on walls, fences, or balconies.
Ensure the structure can securely support your garden’s weight.
Materials Needed for Your Vertical Garden
Gather necessary materials before starting your project.
Showcase Your Farming Business
Publish your professional farming services profile on our blog for a one-time fee of $200 and reach a dedicated audience of farmers and agribusiness owners.
Publish Your ProfileCommon materials include planters, shelving, or wooden pallets.
Consider using a trellis for climbing plants for extra support.
Additionally, choose high-quality potting soil for healthy plants.
Don’t forget gardening tools like gloves and a trowel.
Plant Selection for Vertical Gardens
Select plants that thrive in vertical arrangements.
Easy-to-grow herbs such as basil and mint are excellent choices.
Likewise, trailing plants like ivy add elegance to your setup.
Don’t overlook vegetables; compact varieties work well in vertical spaces.
Finally, consider flowering plants for added color and vibrancy.
Creating Your Vertical Garden
Begin by assembling your chosen structure securely.
Attach planters or shelves according to your design preferences.
Fill containers with potting soil, leaving space for roots.
Next, insert the plants into the soil, ensuring they are stable.
Water the plants thoroughly after planting and ensure drainage.
Maintaining Your Vertical Garden
Regular maintenance is essential for a thriving vertical garden.
Water your plants consistently, especially during hot weather.
Add fertilizer periodically to nourish your plants effectively.
Prune and trim plants to encourage healthy growth and form.
Monitor for pests and diseases, addressing issues promptly.
Find Out More: DIY Garden Projects for Raised Bed Gardening
Creating Rain Gardens: Efficient Water Management and Erosion Control
Introduction to Rain Gardens
A rain garden is a planted depression that captures rainwater.
It allows water to soak into the ground instead of flooding or running off.
Rain gardens help improve water quality and enhance local ecosystems.
Benefits of Rain Gardens
Rain gardens promote efficient water management in urban areas.
They reduce runoff, which decreases erosion and sedimentation.
Furthermore, these gardens filter pollutants, protecting local waterways.
Additionally, they provide habitat for wildlife, contributing to biodiversity.
Choosing the Right Location
Identify a suitable area for your rain garden.
Ensure it’s located at least ten feet away from building foundations.
Avoid areas with a high concentration of utility lines or underground pipes.
Consider placing it near downspouts to capture roof runoff effectively.
Designing Your Rain Garden
Begin by determining the size and shape of your rain garden.
Typical rain gardens range from 100 to 300 square feet.
Shape can vary based on your landscape and personal preference.
Furthermore, select native plants that thrive in your climate.
Plant Selection
Choose a mix of plants to ensure year-round interest.
Incorporate tall plants at the back and shorter ones at the front.
This arrangement adds visual appeal and promotes healthy drainage.
Consider plants like coneflowers and asters for vibrant colors.
Maintaining Your Rain Garden
Regular maintenance is crucial for your rain garden’s health.
Showcase Your Farming Business
Publish your professional farming services profile on our blog for a one-time fee of $200 and reach a dedicated audience of farmers and agribusiness owners.
Publish Your ProfileRemove weeds to prevent them from dominating your plants.
Monitor for standing water after heavy rains to ensure proper drainage.
Additionally, replace dead plants promptly to maintain aesthetics.
Next Steps for Engaging Your Community
Implementing a rain garden is a rewarding DIY project.
Engage with your community to encourage others to create rain gardens.
Share your experiences and attract more interest in sustainable gardening.
Setting Up a Drip Irrigation System
Understanding Drip Irrigation
Drip irrigation delivers water directly to plant roots.
This method minimizes water wastage.
It reduces leaf wetness, lowering disease risk.
Benefits of Using Drip Irrigation in No-Till Gardens
Drip irrigation promotes efficient water use.
This system can save you time and labor.
Furthermore, it promotes healthy soil structure.
Additionally, it conserves soil moisture effectively.
Choosing the Right Components
Select quality drip lines and hoses based on your garden.
Consider purchasing emitters that suit specific plants.
Use a filter to prevent clogging in your system.
Additionally, choose a pressure regulator for consistent flow.
Planning Your Layout
Assess the size and shape of your garden beds.
Map out where each plant will be situated.
Ensure each plant receives adequate water coverage.
Consult garden design principles for optimal spacing.
Installation Process
Start by laying out the main supply line.
Attach drip lines or tubing where needed.
Secure all connections tightly to prevent leaks.
Adjust the system to ensure proper water distribution.
Maintenance Practices
Regularly check your system for clogs and leaks.
Clean filters and emitters to promote efficiency.
Evaluate the watering schedule and adjust as needed.
Consider seasonal changes in your irrigation plan.
Additional Resources
The regenerative urban garden I: No-till gardening — make gather …