Creating Raised Garden Beds
Materials Needed
Raised garden beds require a variety of materials.
Start with wood, such as cedar or redwood.
These types resist rot and are long-lasting.
Concrete blocks or bricks are also excellent choices.
Consider using galvanized steel for a modern touch.
Make sure to have screws, nails, or brackets for assembly.
Don’t forget quality soil and compost for planting.
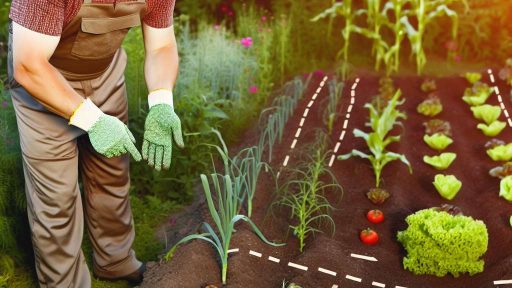
Design Considerations
Design your raised bed to fit your garden space.
Choose a height that works well for comfortable gardening.
Typically, beds range from 12 to 36 inches in height.
Select a width that allows easy access; 4 feet is ideal.
Decide on a length that fits your available area.
Incorporate pathways between beds for easy movement.
Consider adding a trellis for vertical gardening options.
Installation Steps
Begin by selecting a sunny location for your garden.
Transform Your Agribusiness
Unlock your farm's potential with expert advice tailored to your needs. Get actionable steps that drive real results.
Get StartedClear the area of grass, weeds, and debris.
Measure the dimensions of your raised bed carefully.
Cut the wood or prepare your chosen materials accordingly.
Assemble the frame using screws or brackets.
Place the bed in your prepared area.
Fill the bed with a mix of quality soil and compost.
Maintenance Tips
Regularly check for weeds as your plants grow.
Water your garden consistently, particularly in dry weather.
Add mulch to retain moisture and suppress weeds.
Fertilize plants as needed throughout the growing season.
Rotate crops annually to maintain soil health.
Replace any rotting wood to extend the bed’s life.
Companion Planting: Best Plant Pairings for Beginners
Benefits of Companion Planting
Companion planting enhances plant growth and health.
This method improves pest control naturally.
Additionally, it boosts crop yields and soil fertility.
Moreover, it helps to maximize garden space.
Popular Plant Pairings
Several plant combinations work exceptionally well together.
Each pairing supports different aspects of growth and nutrition.
- Tomatoes and Basil: Basil repels pests and enhances tomato flavor.
- Carrots and Onions: Onions deter carrot flies while carrots improve soil nutrients.
- Corn, Beans, and Squash: Known as the Three Sisters, this trio supports each other’s growth and provides mutual benefits.
Using Flowers for Companion Planting
Flowers can play a crucial role in companion planting.
They attract beneficial insects and deter harmful ones.
- Nasturtiums: These attract aphids away from vegetables.
- Marigolds: Marigolds repel nematodes and various garden pests.
- Sunflowers: They provide shade and support for climbing plants.
How to Implement Companion Planting
Start by planning your garden layout carefully.
Research compatible plants based on their growth habits.
Ensure you rotate your crops annually to maintain soil health.
Track the outcomes and adjust your pairings as needed.
Showcase Your Farming Business
Publish your professional farming services profile on our blog for a one-time fee of $200 and reach a dedicated audience of farmers and agribusiness owners.
Publish Your ProfileLastly, keep an eye on plant health throughout the growing season.
Building a Simple Compost Bin
Materials Needed
Start by gathering essential materials for the compost bin.
Use wooden pallets for a cost-effective design.
Alternatively, utilize wire mesh or chicken wire as an option.
Ensure you have screws, nails, or wire to secure the structure.
Consider also having a tarp to cover the compost in inclement weather.
Steps to Build the Compost Bin
Begin by selecting a suitable location in your yard.
The area should be dry, shaded, and easily accessible.
Next, create a rectangular frame using the pallets.
Secure the corners with screws or nails for strength.
If using wire mesh, form a cylindrical shape and secure it tightly.
Leave one side open for easy access when adding compost.
Optionally, add a lid using the tarp for moisture retention.
Your compost bin is now ready to use!
Adding Materials to the Compost Bin
Start adding kitchen scraps like vegetable peels and coffee grounds.
Include garden waste, such as grass clippings and leaves.
Avoid adding meat, dairy, or oily foods that attract pests.
Strive for a balanced mix of greens and browns in the compost.
Turn the compost regularly to promote decomposition.
Benefits of Composting
Composting reduces waste sent to landfills significantly.
It transforms organic waste into nutrient-rich fertilizer.
This process enriches the soil, improving plant health.
Additionally, composting helps retain soil moisture.
It ultimately supports a sustainable homesteading lifestyle.
Uncover the Details: Step-By-Step DIY Garden Projects To Enhance Soil Health For Farming In The USA
DIY Vertical Garden Solutions
Benefits of Vertical Gardening
Vertical gardening maximizes space in small areas.
It increases your gardening yield without requiring more land.
This method also improves air circulation among plants.
Additionally, vertical gardens are aesthetically pleasing.
They can serve as living art pieces in your home or yard.
Choosing the Right Structure
Several structures work well for vertical gardening.
Consider using wall-mounted planters for limited space.
Another option is trellises for climbing plants.
Pallet gardens offer a rustic and creative touch.
Moreover, vertical towers can take advantage of height.
Material Options
Selecting appropriate materials is essential.
Wooden pallets can be repurposed for sustainable gardening.
Wire mesh provides excellent support for climbing plants.
Plastic containers are lightweight and easy to install.
Also, fabric grow bags improve drainage and aeration.
Showcase Your Farming Business
Publish your professional farming services profile on our blog for a one-time fee of $200 and reach a dedicated audience of farmers and agribusiness owners.
Publish Your ProfileEssential Plant Choices
Choosing the right plants ensures success in vertical gardening.
Herbs like basil and mint thrive in vertical setups.
Lettuce and spinach offer quick growth and easy maintenance.
Additionally, strawberries grow beautifully in vertical gardens.
Consider using peas and beans for vertical growth and nutrition.
Watering and Care Techniques
Proper watering is crucial for vertical gardens.
Use drip irrigation systems to efficiently water your plants.
Alternatively, hand-watering works well for smaller setups.
Always monitor soil moisture to prevent overwatering.
Regularly check for pests and diseases to maintain plant health.
Uncover the Details: Small Livestock Management for Profitable Small-Scale Farming
Making Your Own Seedling Starters
Importance of Seedling Starters
Seedling starters are essential for successful gardening.
They provide a controlled environment for young plants.
Additionally, they help in managing early growth stages.
Starting seeds indoors can extend your growing season.
Choosing the Right Materials
First, consider using biodegradable pots made from paper or coconut coir.
These options break down over time, enriching the soil.
You might also choose seed trays, which save space and resources.
Plastic trays can be reused, making them cost-effective.
Gathering Necessary Supplies
Here are some items you’ll need to prepare your seedling starters:
- Seed starting mix or potting soil
- Small pots or seed trays
- Watering can or spray bottle
- Seeds of your choice
- Labels for identifying seedlings
Preparing the Seedling Mix
Start by mixing equal parts of peat moss, vermiculite, and perlite.
This combination provides excellent drainage and aeration.
Additionally, moisture retention is enhanced with this mix.
Fill your pots or trays with the prepared soil.
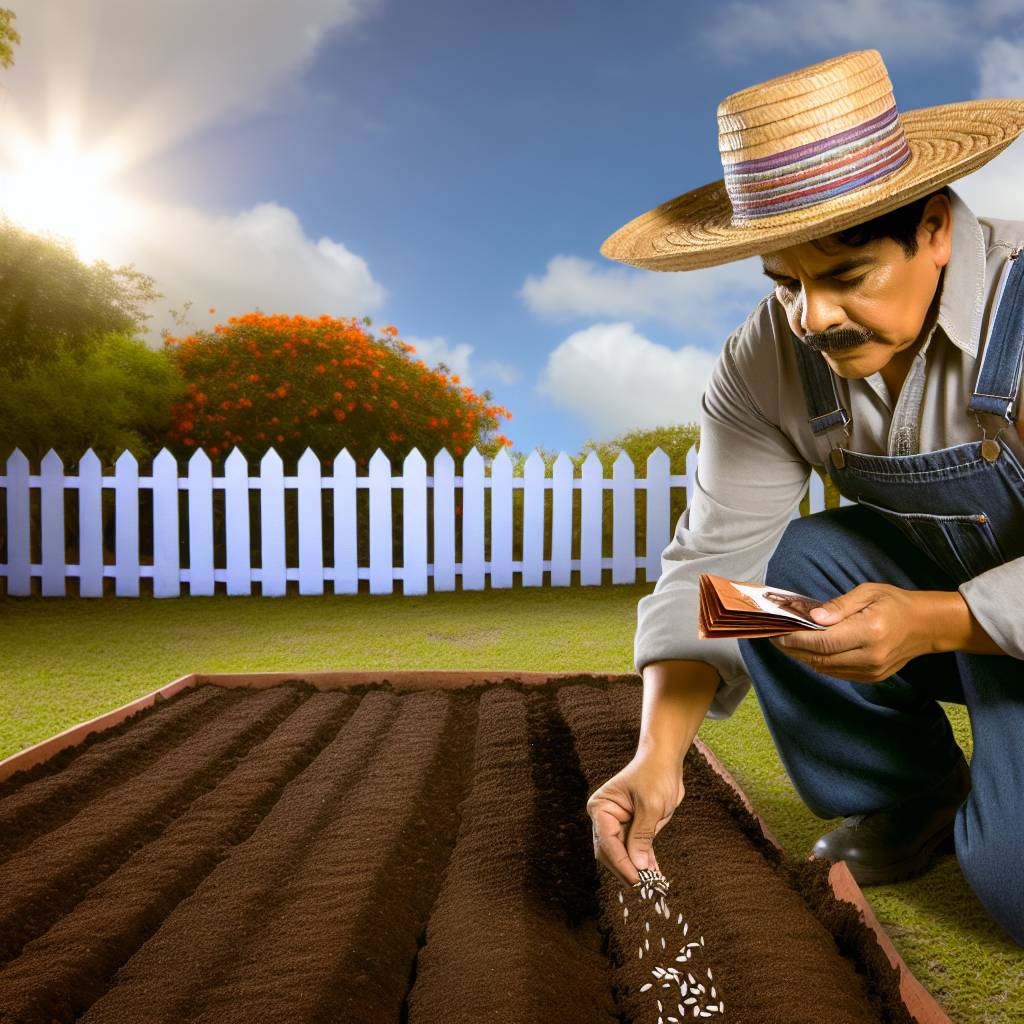
Sowing the Seeds
Next, plant seeds according to their specific depth requirements.
Generally, plant seeds two to three times their diameter deep.
Space the seeds to provide room for growth.
Cover the seeds gently with soil, then lightly press down.
Watering Seedlings
Proper watering is crucial for seedling success.
Use a spray bottle to mist the soil lightly.
This prevents over-saturation while keeping the moisture level optimal.
Check the soil regularly to ensure it remains damp.
Providing Adequate Light
Seedlings require plenty of light for optimal growth.
Place them near a sunny window or use grow lights.
Ensure they receive at least 12-16 hours of light each day.
This will encourage strong, healthy seedlings.
Transplanting Seedlings
Once seedlings develop their first true leaves, they are ready to transplant.
Gently remove them from their containers without damaging roots.
Transplant them into larger pots or directly into the garden.
Ensure the new location has proper sunlight and space.
Showcase Your Farming Business
Publish your professional farming services profile on our blog for a one-time fee of $200 and reach a dedicated audience of farmers and agribusiness owners.
Publish Your ProfileFind Out More: Essential Tools for Successful Mushroom Cultivation
Constructing a Rainwater Harvesting System for Your Garden
Understanding Rainwater Harvesting
Rainwater harvesting collects and stores rainwater for later use.
This method reduces water bills and conserves a valuable resource.
Moreover, it helps alleviate local flooding and erosion issues.
Benefits of a Rainwater Harvesting System
First, it provides an eco-friendly water supply for your garden.
Second, it supports healthy plant growth without municipal water costs.
Third, harvested rainwater is often free from chemicals found in tap water.
Essential Components
Gathering essential components is the first step in building your system.
- A collection surface, like a roof, gathers rainwater.
- Gutters funnel it into storage containers.
- A storage tank holds the rainwater for future use.
- A filtration system removes debris and contaminants.
Step-by-Step Guide
Begin by selecting a suitable location for your collection surface.
Then, install gutters to ensure effective water diversion.
Next, place your storage tank in an accessible area.
After that, connect the gutters to the tank securely.
Finally, include a filtration system to maintain water quality.
Maintenance and Care
Regular maintenance ensures your system operates efficiently.
First, clean the gutters and downspouts monthly.
Second, check the tank for leaks and structural integrity.
Third, replace filters as needed to prevent contamination.
Utilizing Harvested Rainwater
Use your harvested rainwater for various gardening activities.
- Irrigation for flower beds and vegetable gardens.
- Washing gardening tools and equipment.
- Filling bird baths and water features.
Additionally, consider using it for indoor plants if properly filtered.
Discover More: Choosing the Best Substrate for Mushroom Growth
Setting Up an Herb Garden
Choosing the Right Location
Your herb garden thrives in a sunny spot.
Consider areas that receive at least six hours of sunlight daily.
Look for a location with good drainage to prevent waterlogging.
A well-drained area promotes healthy root systems.
Selecting Your Herbs
Start with easy-to-grow herbs for beginners.
Popular choices include basil, cilantro, and parsley.
These herbs require minimal care and yield quickly.
Additionally, consider your culinary preferences.
This ensures you grow herbs you will actually use.
Preparing the Soil
Healthy soil enhances herb growth significantly.
Begin by testing your soil for pH and nutrients.
Most herbs prefer slightly acidic to neutral soil.
Amend your soil with compost to improve fertility.
This mixture promotes active growth and robust flavors.
Planting Your Herbs
Plant herbs at the appropriate time of year.
In most regions, spring is ideal for planting.
Space herbs according to their individual needs.
For example, basil needs more room than thyme.
After planting, water thoroughly to establish roots.
Caring for Your Herb Garden
Regular watering is essential for healthy herbs.
Showcase Your Farming Business
Publish your professional farming services profile on our blog for a one-time fee of $200 and reach a dedicated audience of farmers and agribusiness owners.
Publish Your ProfileAvoid over-watering, as it can lead to root rot.
Fertilize your herbs every few weeks with a balanced fertilizer.
Pruning encourages growth and enhances flavor.
Harvest frequently to stimulate more robust production.
Dealing with Pests and Diseases
Stay vigilant for pests like aphids and spider mites.
Hand-picking or water sprays can effectively remove them.
Organic pesticides are available if infestations occur.
Ensure proper airflow among plants to reduce disease risks.
Regular inspections help you catch problems early.
Building Basic Garden Structures
Trellises
A trellis supports climbing plants effectively.
Construct trellises using wooden pallets, bamboo, or metal fencing.
First, select a location that receives adequate sunlight.
Next, gather materials to build a sturdy framework.
Consider the height and design based on your plants’ needs.
Finally, secure the trellis in the ground for stability.
Arbors
An arbor provides a beautiful entryway to your garden.
Start with durable materials like wood or composite lumber.
First, determine the size that will fit your garden.
Next, dig deep holes for the posts to ensure stability.
Connect the top beams with crossbars for support.
Add climbing plants to enhance the arbor’s beauty.
Raised Garden Beds
Raised garden beds improve drainage and soil quality.
Build beds using untreated wood or stone for longevity.
Decide on the dimensions based on the space available.
Lay out the area and mark corners for alignment.
Construct the sides, ensuring they are level and sturdy.
Fill the beds with rich soil and compost.
Compost Bins
Compost bins recycle kitchen scraps and garden waste.
Choose an area with good airflow for effective composting.
Create bins using wooden pallets or wire mesh for simplicity.
Layer green and brown materials for optimal decomposition.
Maintain moisture by occasionally watering your compost pile.
Turn the compost regularly to speed up the process.
Garden Pathways
Pathways enhance accessibility in your garden.
Design a layout that connects different areas of your garden.
Materials vary from gravel to pavers or stepping stones.
Ensure paths are wide enough for easy movement.
Adequate edging prevents materials from spilling into plants.
Consider adding decorative elements for aesthetic appeal.
Additional Resources
Starting a Flower Farm on a Budget: Affordable Tips and Smart …
Showcase Your Farming Business
Publish your professional farming services profile on our blog for a one-time fee of $200 and reach a dedicated audience of farmers and agribusiness owners.
Publish Your ProfileBest books? What’s your go-to “homestead bible”? : r/homestead