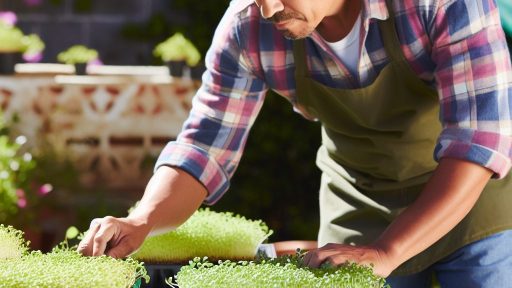
Understanding the Health Benefits of Sprouts
Nutrient Density
Sprouts are highly nutrient-dense.
This means they contain a lot of vitamins and minerals in a small volume.
For instance, they are rich in vitamins A, C, and K.
Additionally, they provide essential amino acids and healthy fats.
Digestive Health
Consuming sprouts can enhance digestive health significantly.
The fiber in sprouts promotes healthy bowel movements.
Moreover, it can help balance gut bacteria, improving overall gut health.
Antioxidant Properties
Sprouts are packed with antioxidants.
These antioxidants help combat oxidative stress.
This can lead to reduced inflammation and lower chronic disease risks.
For example, studies indicate that broccoli sprouts may be particularly effective.
Heart Health
Regular consumption of sprouts contributes positively to heart health.
They help lower cholesterol levels and blood pressure.
Moreover, their high fiber content supports cardiovascular function.
Weight Management
Incorporating sprouts into your diet may aid in weight management.
Transform Your Agribusiness
Unlock your farm's potential with expert advice tailored to your needs. Get actionable steps that drive real results.
Get StartedThey are low in calories but high in nutrients.
This makes them ideal for full meals.
Furthermore, their fiber content helps you feel full longer.
Choosing the Right Seeds for Sprouting
Consideration of Seed Types
Begin by exploring various types of seeds for sprouting.
Popular choices include alfalfa, mung bean, and broccoli seeds.
Each type offers different flavors and nutritional benefits.
Furthermore, consider personal preferences when choosing seeds.
Source Quality Seeds
Obtaining high-quality seeds is crucial for successful sprouting.
Look for certified organic seeds to ensure safety.
Purchase from reputable suppliers known for their quality products.
Checking for non-GMO labeling can also be a good practice.
Know Your Health Considerations
Health concerns may dictate your choice of seeds.
For example, some individuals may be allergic to certain types of seeds.
Consult with a healthcare provider, especially if unsure.
Research the nutritional content of each type as well.
Ensure Seed Suitability
Not all seeds are suitable for sprouting at home.
Specific seeds are intended for consumption, while others are not.
Avoid using seeds treated with pesticides or chemicals.
Always check seed packaging for usage suggestions.
Experiment with Variety
Don’t hesitate to experiment with different seeds.
Mixing seed types can enhance flavor and texture in dishes.
Variety also ensures a broader range of nutrients.
Consider growing small batches to test different seeds.
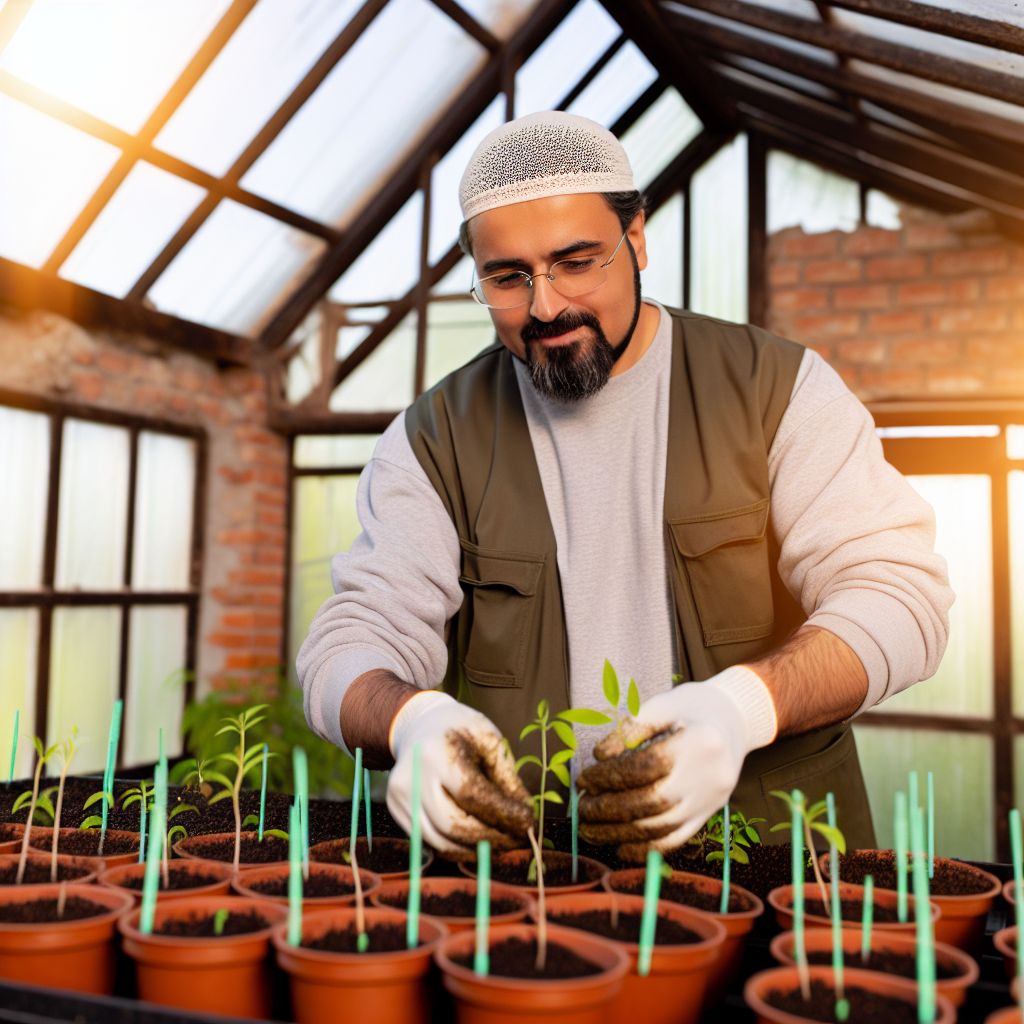
Essential Supplies Needed for Sprouting at Home
Containers for Sprouting
You need appropriate containers to grow sprouts.
Showcase Your Farming Business
Publish your professional farming services profile on our blog for a one-time fee of $200 and reach a dedicated audience of farmers and agribusiness owners.
Publish Your ProfileGlass jars or plastic trays work well for this purpose.
Ensure the containers have good drainage to prevent waterlogging.
Seeds for Sprouting
Select high-quality seeds specifically meant for sprouting.
Common choices include alfalfa, radish, and mung beans.
Make sure the seeds are organic and free from chemicals.
Watering Equipment
Good watering equipment is essential for healthy sprouts.
A spray bottle is ideal for gentle watering.
Also, consider using a fine-mesh strainer for rinsing seeds.
Light Source
Providing adequate light helps sprouts grow stronger.
Place them near a well-lit window or use grow lights.
Direct sunlight may be too intense, so monitor the exposure.
Temperature Control
Maintaining the right temperature is crucial for sprouting.
Most sprouts thrive at temperatures between 65°F and 75°F.
Find a stable spot that avoids extreme heat or cold.
Cleaning Supplies
Keeping your sprouting equipment clean prevents contamination.
Use gentle soap or vinegar to clean jars and strainers.
Always rinse thoroughly before use to eliminate residue.
You Might Also Like: The Best Sprouting Jars and Trays for Home Sprout Cultivation
Soaking the Seeds
Soaking seeds is the first crucial step in growing sprouts at home.
This process helps to activate the seeds and kick-start germination.
Furthermore, soaking makes seeds more digestible and enhances nutrient absorption.
Choosing the Right Seeds
Select high-quality seeds specifically intended for sprouting.
Good options include alfalfa, broccoli, and mung beans.
Look for organic seeds to ensure they are free from harmful chemicals.
Preparing for Soaking
Begin by measuring the desired amount of seeds.
A quarter cup of seeds usually yields a good batch of sprouts.
Rinse the seeds under cool, running water to remove dust and impurities.
The Soaking Process
Place the cleaned seeds in a bowl or jar.
Cover the seeds with enough water, typically three times their volume.
Allow the seeds to soak for several hours, usually 4 to 8 hours.
For small seeds, a shorter soaking time is adequate.
Post-Soaking Considerations
After soaking, drain the seeds thoroughly.
Be careful to remove all excess water to prevent mold growth.
The seeds are now ready for the next stage in the sprouting process.
See Related Content: Common Mistakes in Growing Microgreens and How to Avoid Them
Draining and Rinsing the Seeds
Preparing for the Drain
Begin by placing your sprouting seeds in a fine-mesh strainer.
This ensures water drains well without losing any seeds.
Carefully tilt the strainer to let the excess water escape.
Allow the seeds to sit in the strainer for a few minutes.
This step removes any standing water that can promote mold.
Showcase Your Farming Business
Publish your professional farming services profile on our blog for a one-time fee of $200 and reach a dedicated audience of farmers and agribusiness owners.
Publish Your ProfileRinsing the Seeds
Next, rinse the seeds thoroughly under running water.
Use cool, clean water to avoid shocking the seeds.
Make sure to agitate the seeds gently with your hand.
This action helps remove any debris or impurities.
Ensure all seeds are evenly rinsed to promote healthy growth.
Draining Again
After rinsing, place the strainer back at an angle.
Let the seeds drain again for a few minutes.
This ensures they are not sitting in excess moisture.
Proper drainage is crucial for preventing mold growth.
Repeat the Process
Repeat the rinsing process every few hours.
This keeps the seeds moist and encourages sprouting.
Consistency is key to successful seed germination.
Monitor the seeds closely during this critical phase.
Adjust your rinsing schedule based on the seeds’ needs.
Find Out More: Permaculture Gardening Techniques for Small Farms
Setting Up the Sprouting Environment
Choosing the Right Location
Select a suitable spot in your home for sprouting.
It should be well-ventilated and away from direct sunlight.
Look for a clean area with a stable temperature.
Gathering Necessary Supplies
Have all essential items ready before starting.
You will need a sprouting jar or tray.
Additionally, gather clean water and a strainer.
Preparing the Sprouting Container
Start by rinsing your container thoroughly.
This ensures no contaminants affect your sprouts.
Next, if using a jar, cover the opening with mesh or cheesecloth.
Watering Process
Water your sprouts adequately at each stage.
Soak the seeds in water for several hours initially.
Subsequently, drain the water completely.
Rinse the seeds with fresh water twice daily.
Monitoring Environmental Conditions
Keep an eye on humidity levels in your sprouting space.
Adjust ventilation if necessary to prevent mold.
Maintain a consistent temperature for best results.
Explore Further: How Companion Planting Supports Sustainable Agriculture
Monitoring Growth and Conditions
Observation of Sprouting
Start by checking the sprouts daily.
Look for signs of growth such as lengthening shoots.
Monitor changes in texture and color.
Healthy sprouts should appear vibrant and fresh.
Adjusting Light Conditions
Ensure your sprouts receive adequate light.
Too little light can stunt growth.
Conversely, excessive light may cause wilting.
Place the sprouts in a well-lit area, but avoid direct sunlight.
Showcase Your Farming Business
Publish your professional farming services profile on our blog for a one-time fee of $200 and reach a dedicated audience of farmers and agribusiness owners.
Publish Your ProfileRotate the container periodically for even exposure.
Humidity and Temperature Management
Maintain appropriate humidity levels around your sprouts.
A humid environment helps sprouts retain moisture.
Consider using a spray bottle to mist lightly.
Avoid letting the sprouts dry out completely.
Keep room temperature comfortable, ideally between 65°F to 75°F.
Watering Routine
Establish a consistent watering schedule.
Check the soil moisture daily.
Water gently as needed, avoiding over-saturation.
Excess water can lead to mold and rot.
Drain any excess water from the bottom of the container.
Identifying Pests and Diseases
Regularly inspect your sprouts for pests.
Common issues include aphids and mold.
Address any sightings immediately to prevent spread.
Use organic treatments if necessary.
Maintain cleanliness to minimize disease risks.
Harvesting and Storing Your Sprouts Safely
Timing Your Harvest
Harvest your sprouts when they reach the desired length.
Generally, this is about 5 to 7 days after sprouting.
Inspect your sprouts regularly to determine when they are ready.
How to Harvest
Use clean scissors or kitchen shears for harvesting.
Cut the sprouts just above the soil level or sprouting medium.
Be careful not to damage the remaining sprouts.
Rinsing Your Harvest
After harvesting, rinse your sprouts thoroughly under cool water.
Ensure you remove any remaining debris or shell fragments.
This step helps reduce any potential bacteria on the sprouts.
Drying Your Sprouts
Shake off any excess water from the rinsed sprouts.
Spread them out on a clean kitchen towel or paper towel.
Allow them to dry for about 15 to 30 minutes.
Storing Your Sprouts
Store your dried sprouts in an airtight container.
A glass jar or a plastic container with a lid works well.
Keep the container in the refrigerator to maintain freshness.
Using Your Sprouts
Add your freshly harvested sprouts to salads, sandwiches, or stir-fries.
Experiment with different recipes to enjoy their flavor.
Remember, incorporate them into meals within a week for optimal taste.
Signs of Spoilage
Regularly check the sprouts for any signs of spoilage.
Discard sprouts if they develop an off smell or slimy texture.
Fresh sprouts should remain crisp and fragrant.
Common Mistakes to Avoid When Growing Sprouts
Incorrect Sprouting Method
Using the wrong method can lead to poor sprout quality.
Select a suitable sprouting technique for your seeds.
Research various techniques to find the best fit.
Showcase Your Farming Business
Publish your professional farming services profile on our blog for a one-time fee of $200 and reach a dedicated audience of farmers and agribusiness owners.
Publish Your ProfilePoor Seed Quality
Purchasing low-quality seeds affects your results.
Always buy seeds specifically labeled for sprouting.
Examine the expiration date and storage conditions.
Insufficient Watering
Adequate moisture is essential for sprout growth.
Over-watering can lead to mold and rot issues.
Check your seeds regularly to ensure proper moisture levels.
Inadequate Airflow
Providing proper airflow is crucial during sprouting.
Without it, you risk developing mold on your sprouts.
Use a well-ventilated container to promote circulation.
Exposing Sprouts to Direct Sunlight
Direct sunlight can damage your sprouts.
Keep them in a shaded area during the sprouting process.
Indirect light supports healthy growth without overheating.
Ignoring Cleanliness
Neglecting cleanliness can lead to health risks.
Always sanitize your tools and containers before use.
This practice significantly reduces contamination chances.
Not Timing the Growth
Overlooking the sprouting time can affect flavor and texture.
Monitor your sprouts closely for optimal timing.
Harvest them at the peak of freshness for best results.
Safety Tips to Prevent Contamination and Ensure Healthy Sprouts
Choose High-Quality Seeds
Select seeds that are certified for sprouting.
Check for freshness and proper storage conditions.
Use organic seeds whenever possible.
Practice Good Hygiene
Start by washing your hands thoroughly with soap.
Ensure all equipment and containers are sanitized.
Use only food-grade materials for sprouting.
Rinse Sprouts Regularly
Rinse your sprouts with clean, cool water at least twice daily.
Make sure the water drains well to avoid standing moisture.
This practice helps prevent bacterial growth.
Provide Adequate Ventilation
Place your sprouting container in a well-ventilated area.
Good airflow reduces moisture buildup in the sprouts.
Avoid covering the sprouts tightly during the germination process.
Store Sprouts Properly
Keep harvested sprouts in the refrigerator to prolong freshness.
Store them in a breathable container, like a produce bag.
Avoid washing the sprouts until you’re ready to use them.
Monitor for Signs of Spoilage
Inspect your sprouts daily for any off smells or discoloration.
If you notice these signs, discard the sprouts immediately.
Using good judgment ensures you consume only safe sprouts.
Additional Resources
How to Grow Amaranth Microgreens at Home (Step-By-Step Guide …
Breeding Dahlias for Home Gardeners | Hybridizing | joegardener®