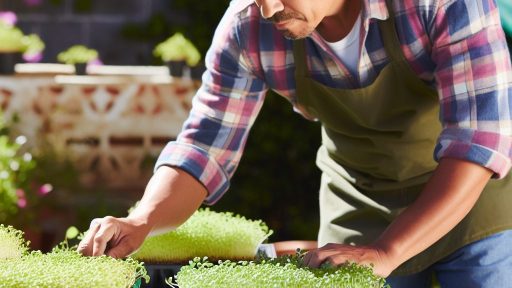
Introduction to Home Sprout Cultivation
Home sprout cultivation offers numerous benefits for health and wellness.
Growing sprouts at home is simple and cost-effective.
Sprouts are nutrient-dense, providing a burst of energy.
Additionally, they enhance flavors in various dishes.
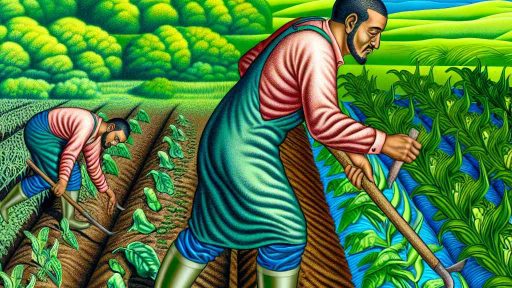
Moreover, sprouting is an eco-friendly practice.
Health Benefits of Sprouts
Sprouts are rich in vitamins, minerals, and protein.
They support digestion and boost the immune system.
Furthermore, sprouts contain antioxidants that fight free radicals.
Including sprouts in your diet can improve overall health.
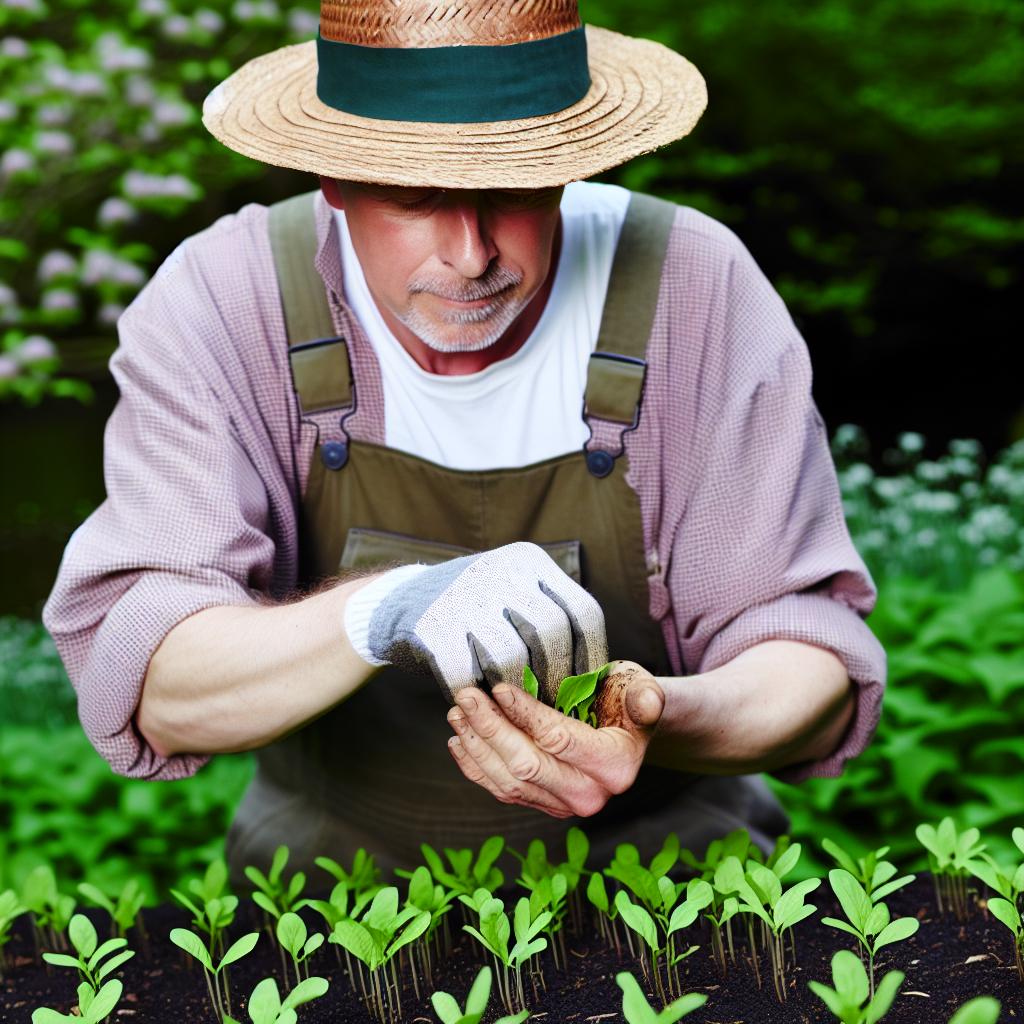
Getting Started with Sprouting
Begin by selecting the right seeds for sprouting.
Common choices include alfalfa, mung beans, and broccoli seeds.
Next, gather necessary equipment, such as jars or trays.
Each method offers unique benefits and growing experiences.
Choosing the Right Container
Consider using glass jars for easy visibility and monitoring.
Mesh lids allow for proper air circulation during growth.
Transform Your Agribusiness
Unlock your farm's potential with expert advice tailored to your needs. Get actionable steps that drive real results.
Get StartedTrays provide more space and facilitate larger yields.
Ultimately, the choice depends on your available space and needs.
Types of Sprouting Containers: Jars vs. Trays
Overview of Sprouting Jars
Sprouting jars are a popular choice for many home gardeners.
They provide a simple and efficient way to grow sprouts.
These jars typically feature a mesh lid for easy drainage.
Moreover, they allow for good airflow, which is crucial for sprout growth.
Additionally, most sprouting jars are made from glass.
This material helps prevent bacterial growth during sprouting.
Overall, jars are ideal for smaller quantities of seeds.
Benefits of Using Sprouting Jars
Using jars has several distinct advantages.
- The mesh lid allows easy rinsing and draining of seeds.
- They are easy to clean and sterilize between uses.
- Jars are portable, making them great for small kitchens.
Furthermore, jars offer excellent visibility of the sprouting process.
Exploring Sprouting Trays
Sprouting trays come in various designs and materials.
They are often used for larger batches of sprouts.
Trays typically feature drainage holes for excess water.
This feature helps prevent oversaturation of seeds.
Plastic and stainless steel are common materials for trays.
While trays might take up more space, they can yield more sprouts.
Advantages of Sprouting Trays
Using trays for sprouting has its own benefits.
- Trays allow for better light exposure across sprouts.
- They can support multiple seed types at once.
- Trays are usually stackable, saving counter space.
Moreover, they can help maintain consistent moisture levels.
Choosing the Right Container
Selecting between jars and trays depends on various factors.
Consider how many sprouts you intend to grow.
Also, think about the available kitchen space.
Your personal preference for maintenance is also important.
Both options can yield delicious and nutritious sprouts.
Showcase Your Farming Business
Publish your professional farming services profile on our blog for a one-time fee of $200 and reach a dedicated audience of farmers and agribusiness owners.
Publish Your ProfileUltimately, choose the container that best fits your needs.
Key Features to Look for in Sprouting Jars
Material Selection
Choose sprouting jars made of glass for durability and safety.
Glass jars are non-reactive, ensuring seeds remain uncontaminated.
Consider BPA-free plastic options for lightweight use.
Size and Capacity
Select jars with adequate capacity based on your sprouting needs.
Smaller jars suit casual sprouters, while larger jars benefit avid growers.
Assess how much space you have for storage before purchasing.
Mesh Lids
Opt for jars with fine mesh lids for optimal airflow.
Good airflow prevents mold and promotes healthy growth.
Look for lids that are easy to clean and handle.
Ease of Use
Choose jars that are easy to fill and drain.
Smooth edges simplify filling and rinsing processes.
A wide mouth makes it convenient to access and clean the jar.
Versatility
Select jars that can accommodate a variety of seeds.
Some jars allow for both sprouting and growing microgreens.
This feature maximizes your investment and sprouting options.
Price and Warranty
Evaluate the price against features and quality.
Higher-quality jars often come with warranties for your peace of mind.
Consider brands known for customer support and product durability.
Gain More Insights: Common Mistakes in Growing Microgreens and How to Avoid Them
Best Sprouting Jars on the Market
Overview of Sprouting Jars
Sprouting jars are essential for home sprout cultivation.
They provide an ideal environment for seeds to germinate.
In particular, their design optimizes air circulation and moisture retention.
Key Features to Consider
When selecting a sprouting jar, consider the material.
Glass jars are durable and non-toxic.
Additionally, look for jars with wide openings for easy cleaning.
Ensure the jar comes with a mesh lid for effective drainage.
Top Recommendations
-
Ecojar Glass Sprouting Jar
This jar is made from high-quality glass.
Its mesh lid allows for efficient air flow.
Ecojar is also easy to clean and dishwasher safe.
-
Ball Wide Mouth Mason Jar Kit
The Ball Mason jar kit is versatile and practical.
It includes a durable mesh lid and a wide mouth.
This jar is perfect for various types of sprouts.
-
Sprout House Sprouting Jar
This jar features a unique design for optimal sprouting.
Its sturdy construction ensures longevity.
Moreover, it includes detailed instructions for beginners.
How to Use Sprouting Jars
First, rinse the seeds before placing them in the jar.
Next, fill the jar with water and let it soak overnight.
After soaking, drain the excess water through the mesh lid.
Store the jar in a well-ventilated area out of direct sunlight.
Rinse and drain the seeds daily until they sprout.
Maintenance Tips
-
Always rinse your seeds with cool water.
-
Ensure that no excess water is left in the jar.
-
Store your sprouting jar in a cool, dark place.
-
Regularly check for mold or spoilage.
Benefits of Using Sprouting Jars
Using sprouting jars allows for fresh, nutritious sprouts at home.
They are economical and environmentally friendly.
Home-grown sprouts are rich in vitamins and minerals.
Additionally, sprouting enhances the flavor of seeds.
Find Out More: Permaculture Gardening Techniques for Small Farms
Effective Use of Sprouting Trays: Advantages and Best Practices
Benefits of Sprouting Trays
Sprouting trays simplify the sprouting process significantly.
They provide an organized environment for seed germination.
Furthermore, they enhance airflow around the sprouts.
Showcase Your Farming Business
Publish your professional farming services profile on our blog for a one-time fee of $200 and reach a dedicated audience of farmers and agribusiness owners.
Publish Your ProfileThis airflow helps prevent mold formation.
Additionally, trays make it easier to water without oversaturating.
Selecting the Right Material
Choosing the right material for your sprouting trays is crucial.
Plastic trays are durable and easy to clean.
Wooden trays offer a more natural aesthetic but require regular maintenance.
Moreover, biodegradable trays provide an eco-friendly option.
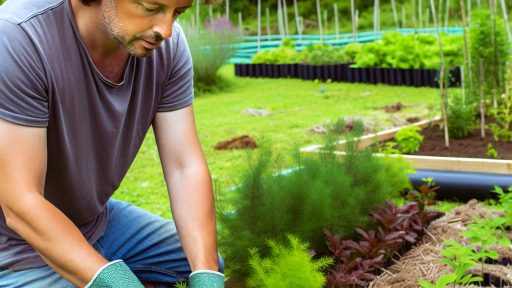
Placement and Environment
Location matters when using sprouting trays.
Place trays in areas with ample indirect sunlight.
This setting encourages healthy, robust growth.
Ensure the temperature stays between 65°F and 75°F for optimal results.
Humidity levels should also be monitored closely.
Watering Techniques
Proper watering is essential for successful sprouting.
Use a fine mist spray to gently moisten the seeds.
Avoid soaking the seeds, which can lead to rot.
Water the sprouts a few times daily to maintain moisture balance.
Harvesting Sprouts
Harvesting at the right time ensures maximum flavor and nutrition.
Most sprouts are ready within 5 to 14 days of germination.
Use scissors to snip the sprouts above the soil level.
After harvesting, rinse the sprouts thoroughly before consumption.
Maintaining Cleanliness
Cleanliness is paramount when using sprouting trays.
Always sanitize your trays before planting new seeds.
Regularly clean any debris to prevent mold and pests.
Consider rotating your trays to minimize cross-contamination.
Explore Further: How Companion Planting Supports Sustainable Agriculture
Comparative Review: Jars vs. Trays for Specific Sprouts
Introduction to Sprouting Containers
Choosing the right container is crucial for successful sprouting.
Jars and trays each have unique advantages based on the type of sprouts.
This section discusses the strengths of both options.
Benefits of Sprouting Jars
Sprouting jars are excellent for smaller seeds like alfalfa and broccoli.
They allow for easy rinsing and draining, which is essential for sprouting.
Glass jars provide visibility to monitor seed development effectively.
Moreover, they are generally easy to clean and reusable.
Ideal Seeds for Jars
- Alfalfa
- Broccoli
- Mung Beans
These seeds thrive well in jars due to their size and water needs.
Advantages of Sprouting Trays
Trays are preferred for larger seeds and grain sprouts.
They offer more surface area for seeds to spread out and grow.
Additionally, trays facilitate better airflow and drainage.
They are suitable for growing microgreens efficiently.
Ideal Seeds for Trays
- Sunflower
- Peas
- Wheatgrass
These seeds benefit from the spacious environment that trays offer.
Considerations for Choosing Between Jars and Trays
Understanding your sprouting goals helps in making the right choice.
Consider the type of seeds you wish to grow and their specific needs.
Evaluate your available space and convenience for maintenance as well.
Showcase Your Farming Business
Publish your professional farming services profile on our blog for a one-time fee of $200 and reach a dedicated audience of farmers and agribusiness owners.
Publish Your ProfileConvenience and Space
Jars require less counter space but limit growth potential.
On the other hand, trays may take more room but support larger batches.
Summary of Key Differences
In summary, jars are versatile for small seeds.
On the other hand, trays excel for larger seeds and microgreens.
Your choice depends on your specific sprouting needs.
Discover More: Vertical Farming for Growing Fresh Produce Year-Round
Maintenance and Cleaning Tips for Your Sprouting Equipment
Regular Cleaning Schedule
Establish a regular cleaning schedule for your sprouting equipment.
Daily cleaning helps prevent mold and bacteria buildup.
After each use, rinse your jars and trays thoroughly.
Use warm water and a gentle brush to clean hard-to-reach areas.
Choose the Right Cleaning Supplies
Opt for non-toxic, eco-friendly cleaning supplies.
Avoid harsh chemicals that could contaminate your sprouts.
Vinegar and baking soda are effective natural cleaners.
Additionally, consider using a mild dish soap if necessary.
Proper Drying Techniques
After cleaning, dry your equipment completely.
Air drying is preferred to reduce dampness.
Ensure thorough air circulation to prevent moisture retention.
Store your jars and trays in a dry, cool area.
Inspect for Damage Regularly
Regularly check your sprouting equipment for signs of wear.
Inspect jars for cracks or chips that may harbor bacteria.
Replace damaged items promptly to ensure safety.
Keeping your equipment in good condition extends its lifespan.
Descaling and Deodorizing
Use a mixture of water and vinegar to descale equipment as needed.
This solution effectively removes mineral buildup from water.
For deodorizing, apply baking soda and let it sit before rinsing.
This method helps eliminate any lingering odors from sprouts.
Frequently Asked Questions About Sprouting at Home
What is sprouting?
Sprouting involves germinating seeds to produce edible greens.
It enhances the nutritional value of the seeds.
Additionally, it’s a simple and fun process anyone can do.
Why should I sprout at home?
Home sprouting provides fresh and nutritious vegetables.
It allows you to enjoy organic produce year-round.
Furthermore, it can reduce grocery bills significantly.
What types of seeds can I sprout?
You can sprout a variety of seeds and legumes.
Common choices include alfalfa, broccoli, and lentils.
Additionally, you can try radish, mung beans, and sunflower seeds.
How should I store sprouts?
Store sprouts in a cool and dry place.
A refrigerator is ideal for maintaining freshness.
Use a breathable container to prevent moisture buildup.
How long do sprouts take to grow?
Sprouting time varies based on the seed type.
Generally, it takes 3 to 7 days for sprouts to mature.
Showcase Your Farming Business
Publish your professional farming services profile on our blog for a one-time fee of $200 and reach a dedicated audience of farmers and agribusiness owners.
Publish Your ProfileMonitor them closely for optimal growth conditions.
Is it safe to eat sprouts raw?
Eating raw sprouts can pose a small risk of bacteria.
To minimize risks, ensure good hygiene and fresh seeds.
Cooking sprouts can also eliminate any potential threats.
What equipment do I need for sprouting?
Minimal equipment is required for home sprouting.
Basic items include sprouting jars or trays.
Additionally, cheesecloth or lids with holes can be useful.
How often should I rinse my sprouts?
Rinse your sprouts 2 to 3 times per day.
This helps keep them moist and prevents mold growth.
Always use fresh, cool water for rinsing.
Additional Resources
The Pros and Cons of Growing Your Own Sprouts • Gardenary
Started growing sprouts in a mason jar and it has vastly improved …