Choosing the Right Seeds for Urban Environments
Understanding Urban Conditions
Urban farmers face unique challenges in their growing environments.
The limited space influences what and how you can grow.
Consider factors such as sunlight, wind exposure, and soil quality.
Understanding these conditions helps you select suitable seeds.
Selecting Suitable Seed Varieties
Choose varieties that thrive in small spaces.
Look for seeds labeled as high-yield or compact types.
Compact varieties often produce more food in smaller areas.
Additionally, choose disease-resistant seeds to maximize success.
Considering Climate and Seasonality
Urban environments can have unique microclimates.
Monitor local temperature and humidity levels.
Select seeds that can adapt to your specific climate conditions.
Check planting calendars for your area to time your sowing.
Utilizing Native and Heirloom Seeds
Consider planting native varieties that thrive in your region.
Heirloom seeds often offer rich flavors and resilience.
Furthermore, these seeds promote biodiversity in urban farming.
Transform Your Agribusiness
Unlock your farm's potential with expert advice tailored to your needs. Get actionable steps that drive real results.
Get StartedExplore local seed exchanges for unique heirloom options.
Researching and Sourcing Quality Seeds
Invest time in researching reputable seed suppliers.
Look for companies that prioritize organic and sustainable practices.
Read reviews and gather recommendations from fellow urban farmers.
Avoid low-quality seeds that may hinder your gardening efforts.
Essential Equipment for Successful Seed Starting
Choosing the Right Containers
Select containers that provide adequate drainage for seed starting.
You can use seed trays, peat pots, or recycled containers.
Ensure that each container can hold moisture without becoming waterlogged.
Quality Seed Starting Mix
Invest in a high-quality seed starting mix for optimal growth.
This mix typically contains peat moss, vermiculite, and perlite.
These components provide good drainage and aeration for seedlings.
Avoid using regular garden soil, as it may not yield good results.
Effective Lighting Solutions
Provide adequate light for seedlings to promote healthy growth.
Consider using fluorescent grow lights or LED options.
Place lights about 2-4 inches above seedlings for best results.
Temperature Control
Monitor temperature levels to create favorable growing conditions.
Most seeds germinate best between 65°F and 75°F.
Use a heat mat if you struggle to maintain these temperatures.
Watering Tools
Utilize watering tools that prevent overwatering and promote even moisture.
A fine mist spray bottle can deliver gentle water to seedlings.
Alternatively, use a watering can with a narrow spout for precise watering.
Fertilization Options
Provide nutrients to young plants using appropriate fertilizers.
Consider a diluted liquid fertilizer once seedlings develop true leaves.
Research organic options if you prefer a more natural approach.
Showcase Your Farming Business
Publish your professional farming services profile on our blog for a one-time fee of $200 and reach a dedicated audience of farmers and agribusiness owners.
Publish Your ProfileLabeling and Organization
Label your seedlings to avoid confusion as they grow.
Use waterproof markers and durable tags to ensure clarity.
Organize your workspace to maintain an efficient seed starting process.
Step-by-Step Guide to Preparing Seed Starting Mix
Gather Your Materials
First, collect all necessary materials for your seed starting mix.
You will need peat moss, vermiculite, and compost.
Additionally, gather a large mixing container and a measuring tool.
Measure the Ingredients
Begin by measuring equal parts of peat moss and vermiculite.
Next, add one part compost to the mixture.
This combination provides nutrients, drainage, and aeration.
Mix Thoroughly
Using your hands or a trowel, mix the ingredients together.
Ensure that the mix is uniform in texture and color.
This step is crucial for proper seedling development.
Moisten the Mix
Gradually add water to the mixture until it is damp.
Avoid over-saturating, as excess water can lead to rot.
This moisture helps seeds germinate and develop strong roots.
Fill Seed Trays or Containers
Using a scoop or spoon, fill your seed trays with the mix.
Leave a little space at the top to prevent overflow.
Firm down the mix lightly to eliminate air pockets.
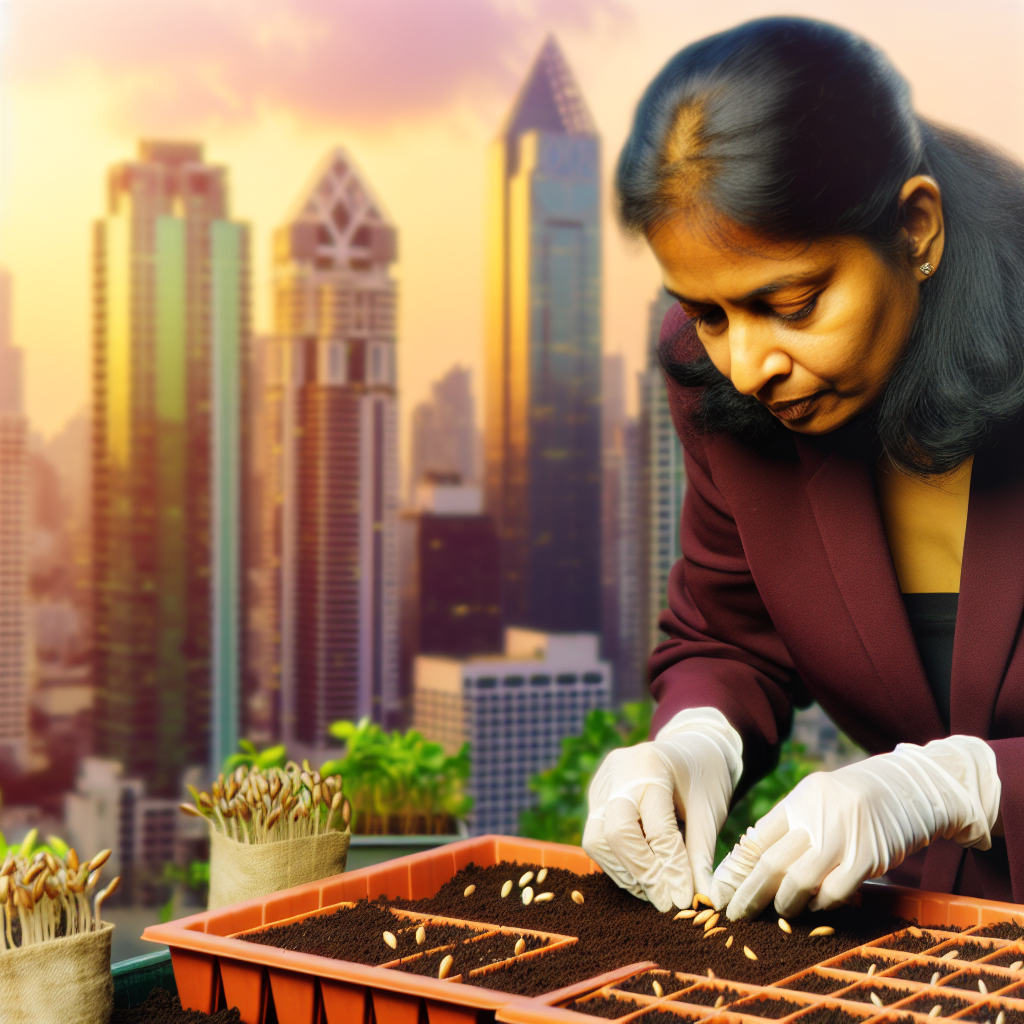
Plant the Seeds
Now it’s time to plant your seeds according to package instructions.
Place the seeds at the recommended depth for best results.
Cover them lightly with the mix, ensuring good seed-to-soil contact.
Label Your Seed Trays
Don’t forget to label each tray with the seed variety and date.
This will help you keep track of your seedlings as they grow.
Use waterproof markers for durability and visibility.
Monitor and Maintain
Finally, keep an eye on moisture levels as your seeds germinate.
Use a spray bottle to mist if the mix begins to dry out.
Once seedlings emerge, provide adequate light and care for healthy growth.
Find Out More: Harvesting Best Practices in Organic Gardening
Optimal Indoor Conditions for Seed Germination
Temperature Regulation
Maintaining the right temperature is crucial for seed germination.
Most seeds thrive at temperatures between 65°F and 75°F.
Use a heat mat if your indoor space is too cool.
Regularly monitor the temperature with a thermometer.
Adjust the conditions as needed to ensure consistent warmth.
Humidity Levels
Humidity plays a key role in seed germination success.
A humidity level between 40% and 60% is ideal for most seeds.
Cover trays with plastic domes or plastic wrap to retain moisture.
Remove coverings once seedlings emerge to prevent mold growth.
Consider using a humidity monitor to track levels efficiently.
Lighting Conditions
Proper lighting encourages healthy seedling development.
Most seeds require at least 12-16 hours of light daily.
Showcase Your Farming Business
Publish your professional farming services profile on our blog for a one-time fee of $200 and reach a dedicated audience of farmers and agribusiness owners.
Publish Your ProfileUse grow lights if natural sunlight is insufficient.
Position lights about 2-4 inches above seedlings for best results.
Adjust the distance as seedlings grow taller.
Soil Selection
Choosing the right soil enhances seed germination rates.
Opt for a light, well-draining seed starting mix.
Avoid heavy garden soil, which may retain too much moisture.
Pre-moisten the soil before planting seeds to ensure even dampness.
Loosen the soil to improve aeration and root penetration.
Watering Techniques
Watering methods can significantly impact seedling growth.
Keep the soil consistently moist but not waterlogged.
Use a spray bottle to gently mist seedlings if necessary.
Check moisture levels by inserting your finger into the soil.
Adjust your watering schedule based on the environment’s humidity.
See Related Content: Container Gardening Setup Tips For Small Farms
Utilizing Containers and Vertical Space for Seedlings
Choosing the Right Containers
Selecting appropriate containers is essential for urban seed starting.
Use pots made from breathable materials like fabric or clay.
Ensure containers have drainage holes to prevent waterlogging.
Consider using recycled containers to save costs and reduce waste.
Vertical Gardening Techniques
Maximize your limited space through vertical gardening methods.
Install shelving units to create multiple growing levels.
Use wall-mounted planters to enhance your garden’s footprint.
Consider vertical gardening systems like towers for efficient space use.
Choosing the Right Soil and Nutrients
Opt for high-quality seed starting mix for optimal growth.
Incorporate organic nutrients to enhance seedling health.
Regularly check moisture levels to maintain soil health.
Effective Watering Practices
Water seedlings consistently to encourage healthy growth.
Use a spray bottle or gentle watering can to prevent overwatering.
Ensure seedlings dry out slightly between watering sessions.
Providing Adequate Light
Ensure seedlings receive adequate light for robust growth.
Use grow lights if natural light is insufficient indoors.
Position seedlings to receive at least six hours of light daily.
Regular Monitoring and Care
Monitor seedlings regularly for pests and diseases.
Remove any affected plants immediately to prevent spread.
Adjust care routines based on your seedling’s growth stages.
Learn More: Companion Planting Strategies For Container Gardens

Watering Techniques: How Much and How Often?
Understanding Water Needs
Every plant has specific water requirements for optimal growth.
Some plants thrive in wet soil while others prefer dry conditions.
Understand your plants to gauge their needs effectively.
Frequency of Watering
Watering frequency depends on various factors.
Consider the plant type, environmental conditions, and soil moisture.
Showcase Your Farming Business
Publish your professional farming services profile on our blog for a one-time fee of $200 and reach a dedicated audience of farmers and agribusiness owners.
Publish Your ProfileGenerally, seedlings need more frequent watering than established plants.
Check the soil moisture regularly to determine when to water.
Watering Techniques
Use drip irrigation for even moisture distribution.
Drip systems reduce water waste and ensure roots absorb water directly.
Hand watering allows for careful attention to each plant’s needs.
Use a watering can or hose with a fine spray attachment.
Best Practices for Watering
- Water in the morning to reduce evaporation.
- Avoid wetting the foliage to prevent fungal diseases.
- Deep watering encourages strong root development.
Signs of Under or Overwatering
Yellowing leaves can indicate overwatering or nutrient deficiency.
Wilting leaves often signal underwatering.
Check for soggy soil or poor drainage, which may cause root rot.
Adjust your watering schedule based on these signs.
See Related Content: Essential Guide To Container Gardening For Farmers
Fertilizing Seedlings: Best Practices and Tips
Choosing the Right Fertilizer
Selecting the appropriate fertilizer is crucial for healthy seedlings.
Consider using organic fertilizers to promote sustainable growth.
For initial growth, look for a balanced NPK formula.
Additionally, choose slow-release options for consistent nourishment.
Understanding Nutrient Needs
Seedlings require nitrogen for robust leaf development.
Moreover, phosphorus supports strong root growth.
Potassium helps improve overall plant health and resistance.
Be aware that each stage of growth has different nutrient needs.
Timing the Application
Start fertilizing when seedlings develop their first true leaves.
Apply fertilizers every two to four weeks to maintain growth.
Adjust frequency based on plant responses and growth conditions.
Application Techniques
Always dilute liquid fertilizers to prevent root burn.
Water the seedlings before and after applying fertilizers.
Consider broadcasting granular fertilizers evenly around seedlings.
Monitoring Seedling Health
Regularly check seedlings for signs of nutrient deficiency.
Look for yellowing leaves, which indicate nitrogen deficiency.
Additionally, stunted growth can signal a lack of phosphorus.
If necessary, adjust your fertilization routine accordingly.
Transplanting Seedlings: When and How to Do It Successfully
Understanding the Right Time to Transplant
Transplant seedlings when they have at least two sets of true leaves.
This stage indicates that the plants are strong enough to adapt.
Avoid transplanting during extreme weather conditions.
Choose a cloudy day to minimize stress on the plants.
Additionally, ensure that nighttime temperatures are consistently above 50°F.
Preparing for the Transplant
Start by preparing the transplant site ahead of time.
The soil should be moist and well-draining for optimal growth.
Clearing away weeds will reduce competition for nutrients.
Furthermore, amend the soil with compost to boost fertility.
Acclimating Seedlings
Prior to transplanting, acclimate seedlings to outdoor conditions.
Gradually expose them to sunlight and wind over a week.
Showcase Your Farming Business
Publish your professional farming services profile on our blog for a one-time fee of $200 and reach a dedicated audience of farmers and agribusiness owners.
Publish Your ProfileThis process is known as hardening off and helps reduce transplant shock.
Begin with a few hours each day and increase exposure gradually.
Transplanting Techniques
Use a small trowel or your hands to gently lift seedlings from their containers.
Be careful not to damage the roots during this process.
Dig holes in the ground that are large enough to accommodate the roots.
Place the seedlings into the holes at the same depth they were growing before.
Backfill with soil and gently pat it down to eliminate air pockets.
Post-Transplant Care
Water the newly transplanted seedlings immediately after planting.
Keep the soil consistently moist, especially during the first weeks.
Consider applying a layer of mulch to retain moisture and suppress weeds.
Monitor the plants closely for signs of stress or disease.
Lastly, avoid fertilizing too soon; wait at least two weeks post-transplant.
Additional Resources
Starting a Flower Farm on a Budget: Affordable Tips and Smart …


